The Tag Under the Cushion Decides How You Clean Your Couch
How to clean furniture upholstery and mattresses without leaving water rings: decode the W/S/WS/X tag first, then work the cheapest fix upward.
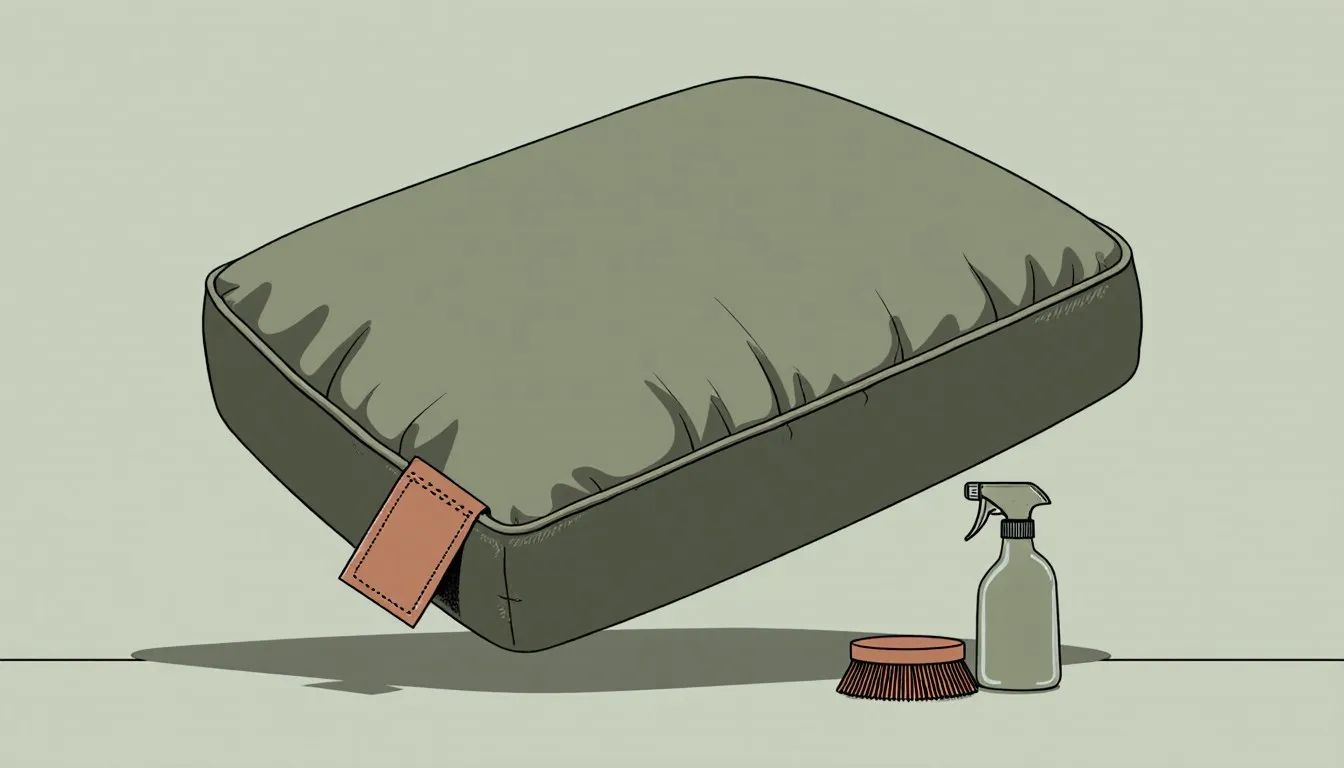
Flip your seat cushion over and find the little tag. The letter on it, W, S, WS, or X, decides whether you are allowed to put water on that couch at all, and getting it wrong is how a small spot becomes a permanent ring the size of a dinner plate. Mattresses have no such tag, which is why almost nobody cleans them. Peel the sheet back and press your palm into the middle of yours for a few seconds, then smell your hand. If it reads faintly sour, that is years of sweat and body oil the bedding never intercepted, sitting in the top inch of the quilting. Both jobs come down to the same sequence: get the dry stuff out first, treat wet only where you have to, and dry it faster than it can grow anything.
Below, what each of those four letters lets you do, the fifty-fifty vinegar mix that handles most of a W-coded couch, the one thing that will ring a microfiber cushion the moment it dries, and the smell that means your mattress is already past saving.
What does that tag under your cushion actually mean?
The manufacturer’s cleaning code is a single letter (sometimes two) printed on a tag under a cushion, under the frame, or stitched into a zipper seam. It tells you what solvent the fabric was tested against. Four codes cover nearly everything on a showroom floor:
- W: water-based cleaners are safe. Mild soap and water, foam cleaners, most rental extractors. This is the friendliest code you can draw.
- S: solvent only. Water will stain or shrink this fabric, so you clean it with a dry-cleaning solvent product. Rayon and some silks live here.
- WS (sometimes written SW): either one works. Most modern polyester blends and performance fabrics carry this, and it is why the average couch bought in the last fifteen years is far more forgiving than people assume.
- X: vacuum and brush only. No water, no solvent, nothing wet at all. Some wovens and delicate weaves will pill, shrink, or water-spot from a damp cloth alone.
Find the tag before you buy a product, not after. It is usually on the underside of a loose cushion or on the deck under the cushions, and on tight-back furniture it hides on the bottom of the frame, which means tipping the piece back against a wall and looking underneath with a flashlight. Take a photo of it while you are down there. You will want it again in two years and you will not remember where it was.
If there is no tag, treat the piece as an S until you prove otherwise. Test with plain water in a hidden spot, the back corner under the skirt, and let it dry completely before you judge it. Furniture that has been reupholstered has whatever code the new fabric had, not the code on the frame, and the tag from a reupholstery job is often long gone. Antiques, hand-me-downs, and anything bought at an estate sale fall into the same bucket: no tag, no assumptions.
The letter matters more than the product. A cleaner that works beautifully on a WS sofa can leave a permanent shadow on an X, because the fibers swell where they got wet and settle back at a different angle once dry, so that patch catches the light differently than the fabric around it forever after. That is the entire reason this section comes first.
How often should you actually be cleaning this stuff?
Vacuum with the floors every week, hit spots the day they land, and deep clean the couch and the mattress once a year. That is the whole schedule. Anything more elaborate falls apart by February.
Whether you owe it a second deep clean is a question you can answer by looking, and the place to look is the headrest. Run the back of your hand across the spot where heads actually rest, then across the top of the same cushion six inches over. If the first one feels slick and reads darker in daylight, that is body oil, and body oil is what pulls airborne dust into the fibers until the whole panel goes gray. I have watched a cream sofa go two shades down in eighteen months from exactly that, one dog and two people, nobody spilling anything.
What loads a headrest fast is predictable. Pets on the furniture put dander and oil on it daily. Kids put down the spills that stay invisible until a humid week in August finds them. Eating on the couch feeds crumbs into the seams, and crumbs feed things you would rather not host. Any of those and you are on a six-month cycle instead of twelve.
Allergies and asthma in the house shift where the effort goes. The weekly pass with a HEPA-filter vacuum does more for the air in that room than the twice-yearly deep clean ever will, because the deep clean is chasing what settled and the vacuum is catching it before it settles again. Free fix first: a throw across the headrest, washed with the sheets, takes the oil that would otherwise take the fabric.
Mattresses run on a slightly different clock. Strip and wash the sheets weekly in hot water, vacuum the mattress surface when you change the bedding if you can stand the extra five minutes, and give it the full treatment (both sides, baking soda, spot work) every six months. Rotate it head-to-foot at the same time. Whether you can flip it depends on the mattress: a two-sided innerspring wants flipping, and most modern foam and pillow-top mattresses are built one-sided and will be ruined by it. The label will say, and if the label is gone, look at whether both faces have the same quilting.
Seasonal timing helps more than people expect. Do the deep clean when you can open windows and run a fan for a few hours, because drying time is the whole game. A couch cleaned on a humid August afternoon with the windows shut can stay damp deep in the foam for a day or more, and damp foam smells worse than the dirt you removed.
What is the right first step before any wet cleaning?
Vacuum, thoroughly, before anything gets wet. Water turns loose grit into mud and drives it into the weave, so every minute you spend dry is a minute you save later. This is the step people skip, and it is the step that does the most work.
Use the upholstery attachment, the wide flat one with the fabric strip across the mouth, and the crevice tool for the seams. Take the cushions off. Vacuum the deck underneath, the sides of the frame, the back panel, and both faces of every cushion. Then go along every seam with the crevice tool, slowly. Seams are where the sand and the crumbs and the hair collect, and a fast pass over a seam gets you nothing.
While you are in there, check three things:
- Seams and zippers: a split seam or a broken zipper pull means water can get into the foam interior, which changes the job. Fix or avoid it.
- Cushion covers: if they unzip, look for a care label inside. Even so, a zipper does not mean the cover is machine washable. Many are there for manufacturing, not for you, and a cover that shrinks four percent in a warm wash will never go back on.
- Loose trim and tacks: anything already lifting will lift further once it gets damp. Nailhead trim that has worked loose has usually widened its own hole in the frame, so the tack needs reseating a hair to one side of the old spot to get any bite, and the walkthrough on how to install upholstery tacks has the method.
Then patch-test. Every time, including on fabric you have cleaned before, because the sun fades one part of a couch and not another and faded fibers behave differently. Pick a hidden spot: the back of the piece, under the skirt, the underside of a cushion. Apply a small amount of whatever you plan to use, blot, and let it dry all the way. Wet fabric always looks fine. Give it two full hours, four if the room is humid, because the ring, the color lift, and the stiff patch all show up in the drying and none of them show up before it. Skip the wait and the first place you will see the ring is dead center on the seat cushion, at eye level, permanently.
One more dry-side trick before you commit to water: a stiff-bristle upholstery brush, worked gently in one direction, lifts pet hair and surface lint that a vacuum drives past. Rubber gloves work too. Dampen one slightly, run your palm across the cushion, and the hair rolls up into ropes you can pick off.
How do you clean fabric upholstery without soaking it?
The rule for every code is the same: damp, never wet, and blot, never scrub. You are cleaning the face of the fabric, not the foam behind it. Anything that soaks through has to come back out, and it usually comes back out carrying a stain ring with it.
W and WS fabrics
Quarter teaspoon of mild dish soap into two cups of warm water, whisked hard until you have a bowl of stiff foam. Any more soap than that and you spend the rest of the afternoon rinsing it back out. Skim the foam off the top with a clean white cloth and leave the liquid sitting in the bowl. Work a section about the size of a dinner plate at a time. The man who taught me upholstery work put it as damp the cloth, not the couch, and thirty years on I have not found the case where he was wrong. Blot the soiled area, working from the outside of the spot inward so you do not spread the edge, then go back over it with a second cloth dampened in plain water to lift the soap. Soap left behind attracts dirt and the area gets grimy faster than the fabric around it.
Use white cloths only. A colored towel can transfer dye into damp upholstery, and that is a stain with no solution.
For a whole-couch refresh rather than a single spot, fifty-fifty white vinegar and cool water handles general grime and light odor on W and WS fabrics, and it dries without leaving a residue the way soap can. Test it first anyway, vinegar is mild acid and some dyes do not love it. Mix a batch into a labeled spray bottle and park it under the sink, because the spill you catch in the first minute is the one that comes out clean, and the full homemade upholstery cleaner recipe has the proportions for exactly these WS-safe pieces.
S fabrics
Water is the enemy here, so you use a dry-cleaning solvent made for upholstery, sold as a spot cleaner in most hardware stores. Apply it to the cloth rather than the fabric, blot, and let it flash off. These solvents work by dissolving oils and carrying them into the cloth, so switch to a clean part of the cloth constantly. A saturated rag stops removing anything and starts redepositing it.
Ventilate. Open two windows and get cross-flow going, and skip the candles while you work. Solvent vapors are heavier than air, they pool, and the label on the can will tell you exactly what precautions the manufacturer requires. The label is the law on that one, not internet advice, not mine.
X fabrics
Vacuum and brush. That is the entire method, and it is not a cop-out. Use the upholstery attachment regularly and a soft brush to lift the nap, and treat spills by lifting solids off immediately with a spoon edge and blotting liquid with a dry white cloth. No water, no solvent, no “just a little bit to see.” An X-coded fabric that gets wet has told you in advance what will happen.
If an X piece is genuinely soiled beyond dry methods, that is a professional job, and it is a legitimate one. Some fabrics are cleanable only with equipment that controls moisture precisely.
The order of operations that saves fabric
Whatever the code, work the ladder from cheap to expensive. Vacuum first. Try plain water (if allowed) on a fresh spot second, because a surprising number of spills come out with nothing but a damp cloth and speed. Then the mild soap or the code-appropriate solvent. Then, only if those fail, a machine. Skipping straight to the strongest thing in the cabinet is how people end up with a clean spot that is visibly lighter than the couch around it.
And never mix cleaning products hoping for more power. Bleach plus ammonia (which is in plenty of glass cleaners) makes chloramine gas, which burns the airway and sends people to the emergency room out of a closed bathroom in a couple of minutes. One product at a time, rinsed and dried in between.
What about leather, microfiber, or a bean bag chair?
One drop of water sorts these three out and tells you what each one will tolerate. Press a drop onto a hidden spot with your fingertip and count to ten, and do it before you open a bottle of anything. On finished leather it beads and wipes off dry. On unfinished or aniline leather it soaks in and darkens, and that piece takes cleaner made for aniline, nothing else. On microfiber the drop vanishes and leaves a pale halo when it dries, which is your warning that plain water will ring the whole cushion the same way.
Leather does not take the W/S/X system. It takes a damp cloth, a leather cleaner made for the finish it has, and a conditioner afterward if the manufacturer calls for one. Skip the saddle soap unless you know exactly what finish you are working with, and keep water to a minimum: finished leather sheds a light wipe, but water sitting in a seam will darken it. Never take a solvent, an all-purpose spray, or anything with alcohol to leather. The finish is a coating, and coatings come off. Wipe spills immediately, keep the piece out of direct sun, and accept that leather develops a patina, which is a polite way of saying it will not look new and should not.
Microfiber usually carries an S code, which surprises people who assume synthetic means bulletproof. Water on microfiber often leaves a visible ring even when the fabric itself is fine, because the nap dries at a different angle. That is why the classic microfiber method is a spray of rubbing alcohol followed by a scrubbing sponge and then a soft brush to raise the nap back up once it is dry. Alcohol evaporates fast enough not to ring. Check the tag first anyway. If you are chasing a pen mark specifically, the detailed walkthrough on how to remove ink from a microfiber couch has the sequence, because ink behaves differently from ordinary soil and the wrong first move sets it.
Bean bags are two problems in one: an outer cover that usually comes off and washes, and a filler that must never get wet. Wet polystyrene beads clump, stay damp for weeks, and go sour. The full method is in the guide on how to clean a bean bag chair, including how to move the fill without redecorating the room in tiny white beads.
Natural fibers deserve a caution. Seagrass, rattan, jute, and wicker take moisture badly, going brittle or growing mildew when they stay damp, and they clean mostly by vacuum and a barely-damp wipe followed by fast drying; the care tips for seagrass furniture cover that in full. Same principle on wood frames and arms: keep water off them, and if a wet glass or a damp cloth has already left a mark, read its color before you touch it. A pale cloudy haze is moisture caught in the finish and comes out with patience and gentle heat; a dark ring means the water reached the wood itself and you are into refinishing. The piece on how to remove white stains from wood furniture handles the pale kind.
Pre-1980 furniture, one honest note. Old upholstery can carry old chemistry: flame retardants, treatments, sometimes lead in adjacent painted wood. If you are stripping or sanding anything painted on a piece from before 1978, stop and read up on lead-safe practice before you make dust. Cleaning fabric is fine; making dust from old paint is not a casual job.
How do you clean a mattress if you can’t just throw it in a machine?
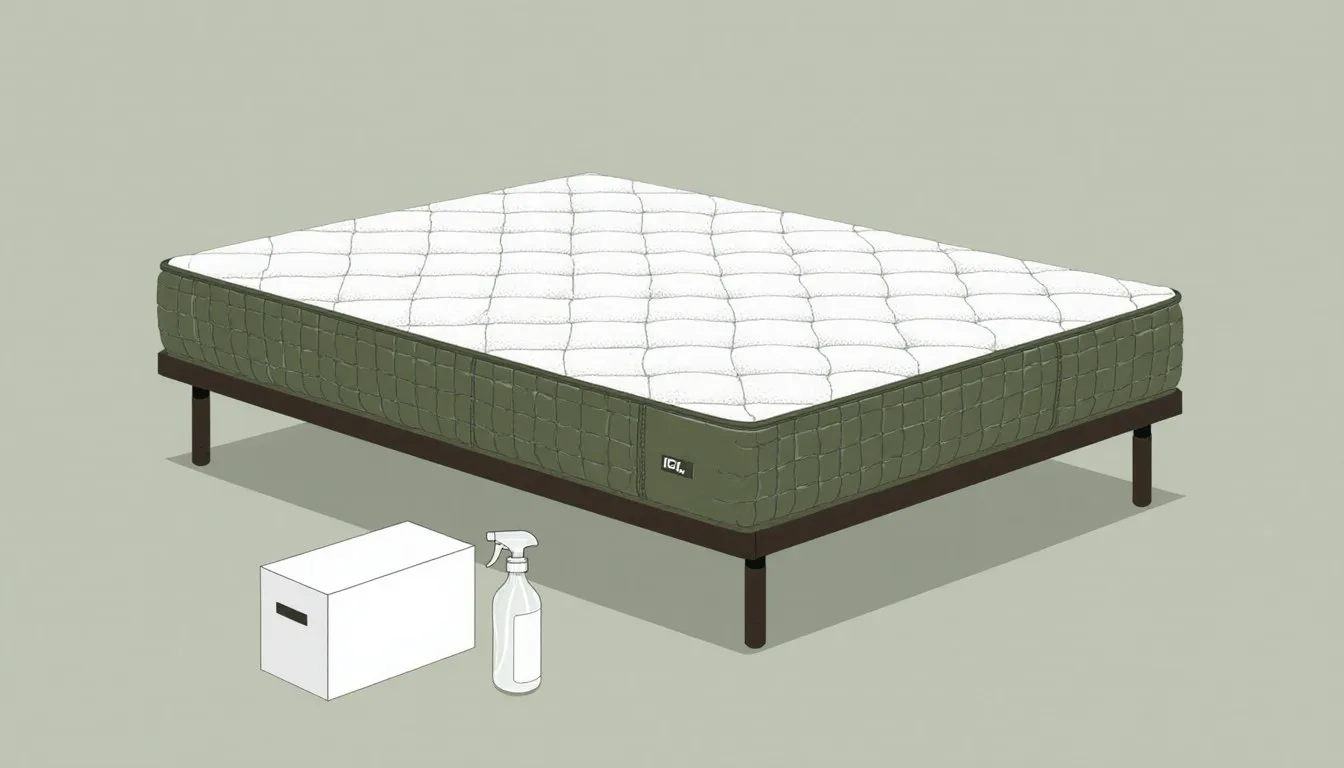
A mattress cleans in five passes, and none of them involve soaking it. Strip it, vacuum it, deodorize it, spot-treat what needs it, and dry it completely before anything goes back on. Budget the better part of a day, mostly because you are waiting.
Strip everything. Sheets, protector, mattress pad, the works, and wash them in the hottest water the labels allow. Dust mites die in the wash at 130°F (54°C) and above, which is why the bedding is where that fight gets won; the mattress itself you handle by vacuuming and by keeping it dry. If a label caps you below that, a hot tumble dry afterward does the same work. If your pillows are washable, this is the day.
Vacuum both surfaces and all four sides. Upholstery attachment on the flat faces, crevice tool along every piped edge and every seam, and pay attention to the quilted valleys where the stitching pulls the fabric down. That is where the debris settles. A HEPA-filter vacuum is worth using here if you have one, since a poor filter puts fine dust straight back into the bedroom air. If you cannot vacuum at all, and plenty of apartments have no vacuum with an upholstery head, take the mattress outside on a dry day, beat it with a clean broom to raise the dust, and brush it off with a stiff brush. It is the old method and it works, though it works less well than a vacuum and it makes a mess of the patio.
Baking soda. Sift a thin, even layer over the whole surface, more than a dusting, less than a snowfall. Leave it eight hours if you can, and a full twenty-four if the mattress has been holding a smell. It is absorbing moisture and odor the entire time it sits, which is why fifteen minutes accomplishes nothing. Set it in the morning, run the day, vacuum it off before bed. If you can put the mattress somewhere with sunlight and airflow while it sits, better still: sunlight and dry air do more for a mattress than any product.
Vacuum the baking soda off completely. Slow passes, overlapping, and go over the seams twice. Baking soda left in the quilting turns gritty and works its way out onto the sheets for weeks.
Rotate, and flip only if it is built for it. Head to foot every six months evens the wear across the spots where you actually sleep. Flipping is for two-sided mattresses only.
For spot-treating, keep it minimal and local. Blot with a cloth barely damp with a mild soap solution or a diluted white vinegar mix, working from the outside of the stain inward, then blot again with a clean damp cloth, then press a dry towel down hard to pull moisture back out. The temptation is to keep going until the stain is gone. Resist it. A mattress cannot be wrung out, and water that reaches the foam core has one exit: slow evaporation, over days, in the dark, which is exactly the condition mold likes. Wet a mattress badly enough and you have replaced a stain with a problem you cannot see.
Dry it hard. Fan on it, window open, and do not remake the bed until the surface is dry to the back of your hand everywhere, including the seams. If you press a paper towel to a treated spot and it comes away damp, you are not done. A futon mattress dries even slower than a conventional one because the fill is dense cotton, and if that is what you are working with, the tips for cleaning a futon mattress account for it.
What do you do about a mattress that is stained or smells like urine?
Urine, vomit, blood, sweat, and pet accidents are protein and organic salts, and soap only lifts what it can float to the surface, which leaves the source of the smell sitting down in the foam. That is why a mattress can look clean and still announce itself on a humid night. The fix is an enzyme cleaner.
Enzyme cleaners contain enzymes that digest the organic material itself, which is the only reason the smell actually stops instead of getting covered. They need two things people rarely give them: enough product to reach as deep as the spill went, and enough dwell time to work, meaning the treated area stays damp for the period the label specifies rather than being blotted dry after five minutes. Under-applying and rushing is the reason most people conclude enzyme cleaners do not work.
A few things that hold true across brands:
- Fresh is dramatically easier than old. Blot up as much liquid as you can with towels and body weight before anything else, and only then treat.
- Do not use hot water on protein stains. Heat sets them. Cool or lukewarm only.
- Skip the ammonia-based cleaners on urine specifically. Ammonia is a component of urine odor and some animals read it as an invitation to use the spot again.
- Follow the label’s dwell time and dilution. These are formulated products and the enzymes have working conditions.
- Dry aggressively afterward, fan and open window, because you have just put a real amount of liquid into a mattress on purpose.
Old, deep, set-in urine is genuinely difficult and sometimes not worth the fight, particularly if it reached the core. For the exact soak times, ratios, and the order of attack on set-in accidents, the DIY tips on how to remove urine smell go through it properly.
Baby and toddler furniture gets a note of its own, because a crib mattress or a secondhand high chair needs cleaning that accounts for what a child will chew on. Rinse every treated surface with plain water afterward and let it dry in open air, because a residue that is harmless on a sofa arm ends up in a mouth here, and the walkthrough on how to clean used baby furniture covers the products and the order for that.
Is a steam cleaner worth it, or is that overkill for a couch?
For one couch, once a year, rent rather than buy. For a household with pets, kids, and several fabric pieces, a machine of your own pays for itself in a couple of seasons. And for a single coffee spill on a cushion, a damp white cloth and ten minutes of blotting does the same job the machine would, without the four hours of drying.
What a hot-water extractor gives you that a cloth does not is suction. It injects solution and immediately pulls it back out along with the dissolved soil, so the fabric ends up damp rather than soaked. That extraction is the whole point. A steam mop, a garment steamer, or a handheld that only puts moisture in without taking it back out will get an upholstered piece wetter than you want, and wet foam is the failure mode in every one of these jobs.
Before you rent anything, check the code. Extractors are for W and WS fabrics. An S fabric needs a machine used with a solvent-based product if at all, and an X fabric never sees one. And a rented machine used badly leaves more water in a couch than a bucket would, so keep the passes moving, go over each stroke twice with the trigger off to pull water back, and stop while the fabric is still only faintly damp.
Three questions that decide rent-versus-buy better than any price comparison:
- How many pieces are you cleaning, and how often? One sofa a year is a rental. Four pieces plus a mattress plus car seats twice a year is a purchase.
- Can you get the rental home, used, and returned in the window? Half-day rentals turn into a rushed job, and a rushed job is a wet job.
- Do you have somewhere to store a machine? These are not small, and a machine living in a garage corner because there is no place for it stops getting used by year two.
Prices on both rentals and small handhelds move around by region and season, so compare a couple of local sources rather than trusting a number you read anywhere, including here. What matters more than the sticker is whether the machine has real suction and a decent upholstery hand tool. For a look at what separates the machines worth using from the ones that just make things damp, the rundown on choosing an upholstery steam cleaner goes model by model.
One practical note on the day: run the machine, then run a box fan pointed at the couch for several hours with a window cracked. Every hour that a cushion stays damp is an hour something can start growing in it, and the difference between a couch that smells clean and a couch that smells like a basement is entirely a drying-time story.
When should you stop and call a professional cleaner?
Some jobs are not yours, and knowing which ones saves you a piece of furniture. Stop and hire out when you hit any of these:
- A musty or mildew smell you cannot locate. If a couch or a mattress smells of mold and the surface looks fine, the growth is inside, and surface cleaning will not reach it. Visible mold on a mattress usually means the mattress is finished, because nothing you can spray reaches a sealed foam core, and the growth on the ticking is the part that arrived last.
- Anything that soaked through to a wood frame. Water in a frame joint loosens glue and swells wood, and you will hear about it as a creak months later.
- Antique, unlabeled, silk, velvet, or hand-woven fabric. An upholstery specialist will test it properly. A wrong first move on velvet crushes the pile permanently.
- Large mystery stains, the kind already there when you bought the piece. You cannot pick a treatment without knowing what you are treating, and the wrong solvent sets some stains for good.
- Anything you have already tried twice. Third attempts with a stronger product are where people wreck fabric that a pro could still have saved.
Two safety stops that are not negotiable. If you are cleaning around a power recliner or a sofa with USB ports and built-in lighting, unplug it at the wall before anything gets damp, and keep liquid away from the motor housing and the control box entirely. And do not use a pesticide, a bed bug spray, or any insecticide on a mattress unless that product’s label specifically names mattresses as a permitted surface. The label is a legal document, and you sleep on this thing eight hours a night. If you have bed bugs, that is a treatment plan, not a cleaning task, and it belongs with someone licensed to do it.
The line I hold for myself: if the fabric is silk, velvet, or unlabeled, or if the smell is coming from somewhere I cannot reach with a cloth, I stop and call an upholstery cleaner. I learned that one on a velvet chair I was sure I could rescue with a barely damp cloth, worked in one direction, careful as anything. The pile crushed in a palm-sized patch that caught the light from the doorway every time I walked past it for four years.
How do you keep it clean after all that work?
A waterproof, breathable mattress protector is the single best return in this whole article. It costs less than a mattress, it washes in the machine, and it stops the spill from ever reaching the core, which means you never have to fight a set-in stain again. Get one with a fabric top rather than a plain vinyl sheet unless you enjoy sleeping on a raincoat.
The rest is small habits:
- Rotate and flip cushions every few weeks so the seat everyone favors does not wear into a crater while the far end stays showroom new.
- Arm covers and a throw across the headrest. Both take the body oils that darken those two spots, and both go in the wash.
- Shoes off the furniture, and eating at the table when you can manage it.
- Blot spills immediately with a dry white cloth. Speed beats every product in the cabinet, and most fresh spills come out with nothing else.
- Keep upholstery out of direct sun. Sun fades and weakens fibers, and a faded panel cannot be cleaned back.
- Vacuum weekly, and let that be most of your cleaning. Grit is abrasive, and every walk across a cushion grinds it into the fibers.
Put the deep clean on the calendar twice a year and tie it to something you already do, the spring window-opening and the fall furnace check work well, because a task with a date attached actually happens. Snap a photo of the cleaning tag on every upholstered piece you own and keep them in one album on your phone. Two years from now, with a spill spreading and the clock running, you will know in ten seconds whether you are allowed to reach for water.
In This Guide
- Cushion 101 types of pillow stuffing and their advantages
- Easy diy tips on how to remove urine smell
- Easy step by step instructions on how to clean
- Homemade upholstery cleaner
- How to clean a bean bag chair
- How to clean used baby furniture
- How to install upholstery tacks
- How to remove ink from a microfiber couch
- How to remove white stains from wood furniture
- Maintenance and care tips for seagrass furniture
- Upholstery steam cleaner
- Using lemon oil for cleaning
- Wonderfully effective tips for cleaning a futon mattress
Ray Mercer
Staff Writer
Ray Mercer has spent thirty years keeping old houses running and has fixed most things twice, the second time correctly. He believes the majority of household problems fall to patience, a clean work area, and a twelve dollar part, and he will tell you plainly which jobs are not yours to do.