Grouting tile floors is not a very tough or messy task as many assume it to be. Read this article and you will be able to learn some simple techniques that can help you to streamline the process of grouting your floor tiles.
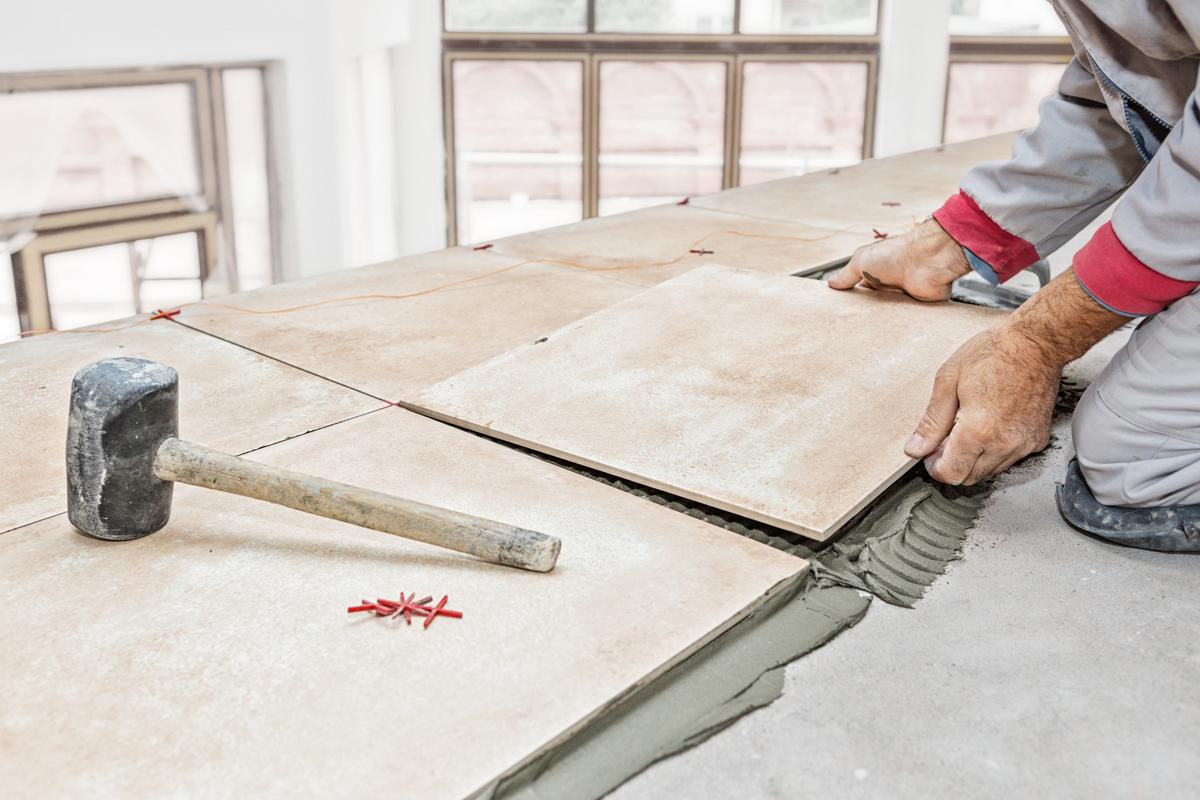
After you are done with the installation of ceramic tiles, you have to grout these newly installed tiles. Grout is nothing but the material which can be seen in between the tiles on a floor. It fills up the gap that lies in between two tiles, and acts as glue. Thus, it provides support as well as protection to the tiles. It is believed that the concept of grouting tile floors originated during the ancient Roman times. However, the grout material used then was different. Today, grout mainly consist of a mixture of sand or epoxy, hardening agents, dyes, and sealants.
Instructions
Grouting tile joints should start only after the tile adhesive has dried completely. Usually, it takes around two days, but for some flooring types it may even require up to 4 days. Be careful, as rushing with this work may result in the adhesive coming to the surface.
Clean the Floor: Even a small bit of adhesive can give an untidy look to the tiled surface. Put some cleaner on stubborn areas and allow it to stand there for few minutes. Then, wipe it off with the excess adhesive. Check the joints; ensure that they are clean. If not, clean them once using a vacuum cleaner.
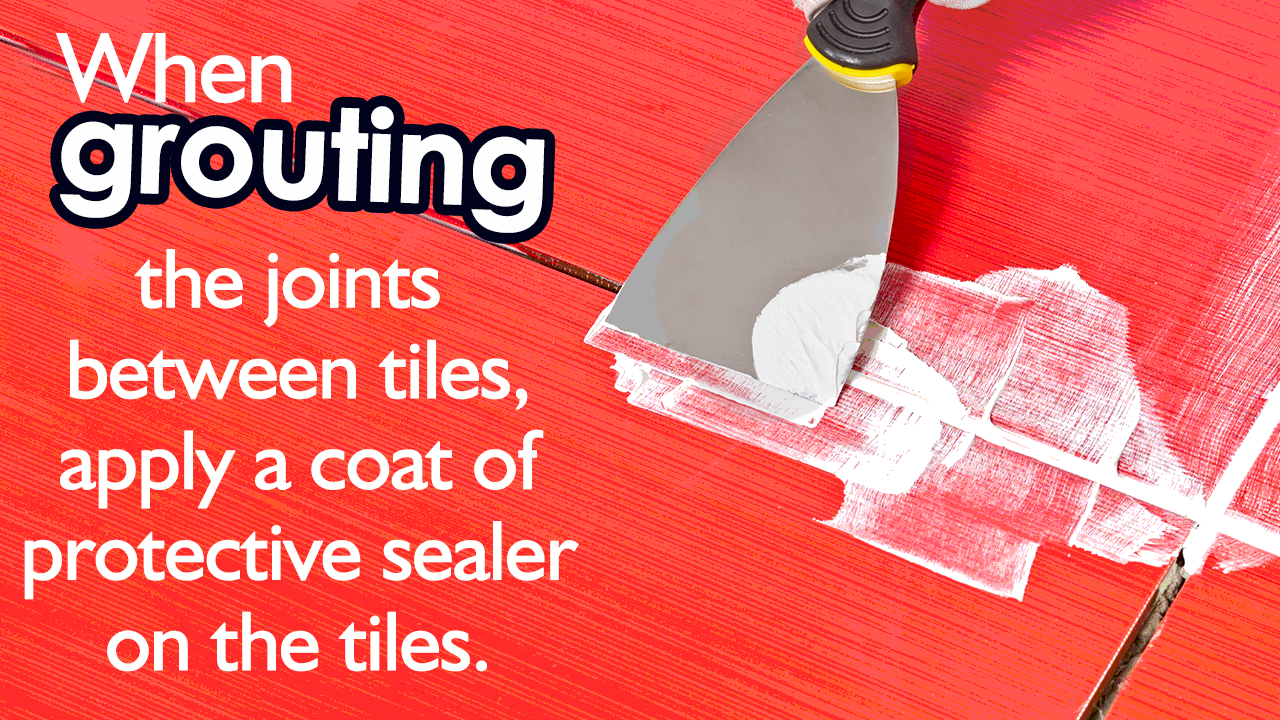
Prepare the Tiles: Colored grouts can stain the surface of the tiles. To prevent this, apply a coat of protective sealer, like paraffin wax, on the tiles. You also have to prepare the tile surface so that the extra grout does not get stuck on the surface and stain the tiles. For this, you have to spread some grout releasing agent on the tiles with the help of a sponge. However, do not let the liquid spill into the tile joints, as it can weaken the grout. Let it dry up before you start the grouting work.
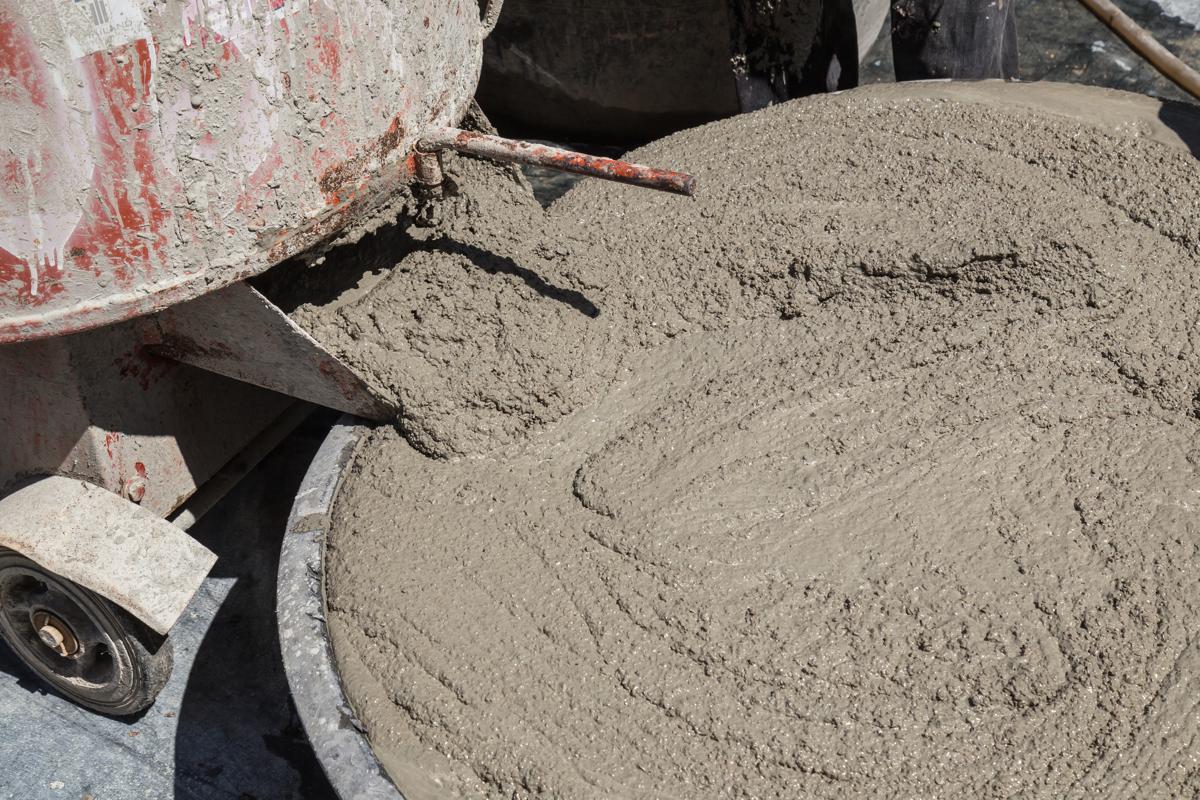
Prepare the Grout: There are different varieties of grout for indoor and outdoor use. Select the one which suits your location of tiling. If you are using it for flooring your bathroom, then opt for the one that resists dampness penetration. Read the manufacturer’s instructions carefully, specially the ones that specify proportion of water and grout. As per these instructions, mix water and grout in a mixing bucket.
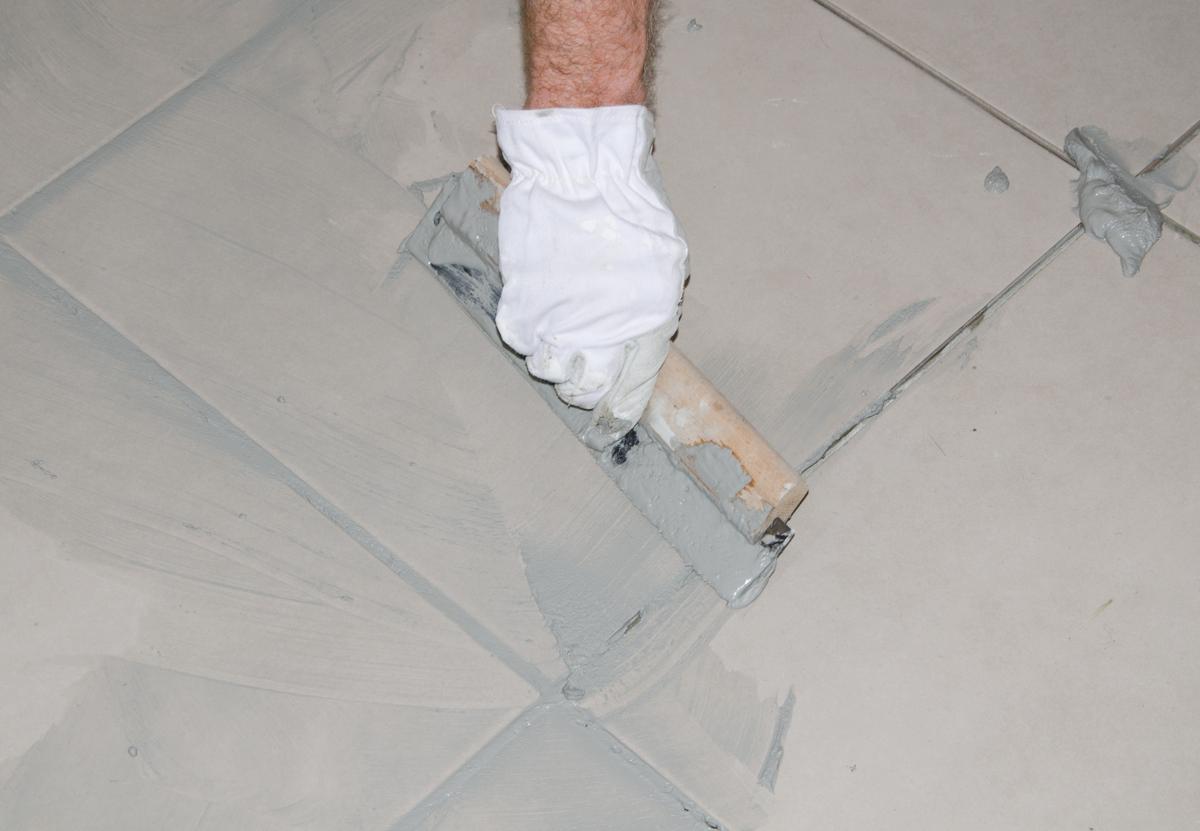
Apply the Grout: Take a float or finishing trowel with a rubber finish and apply the grout on the tiles with it. Force the grout into the joints so that they are filled properly. Remove excess grout from the tiles immediately, using the same float. Then spread some dry grout on the areas where you have applied the grout mixture. Rub the dry grout into the joints with the help of a terry cloth rag. This will give a uniformity to the joints and the excess of water will also be used up, leading to harder joints.
Finishing Touch: If you find that there are some films of grout on the tile floor, wipe out all the grout with a damp sponge, and buff the floor with a terry cloth rag. Do not use an acid or bleaching agent for cleaning. You can cover the finished floor with a special type of non-staining paper for the next 3 days to make the grout stronger. You can also keep the grout untouched for the first 24 hours and then wipe the joints with a damp sponge every day, for the next 2-3 days. Finally, when the grout has cured thoroughly, spray a sealant solution to seal the tile surface. Then buff the entire tile surface once again.
When you start working, it is important to control the temperature in the area you are working in. This is because a cold temperature will cause the grout dry up at a much slower rate, as compared to a warm one. Moreover, the temperature and ventilation of the work area should be even or else the grout will not cure uniformly. As a result, it will cause different shades of grout in different areas.