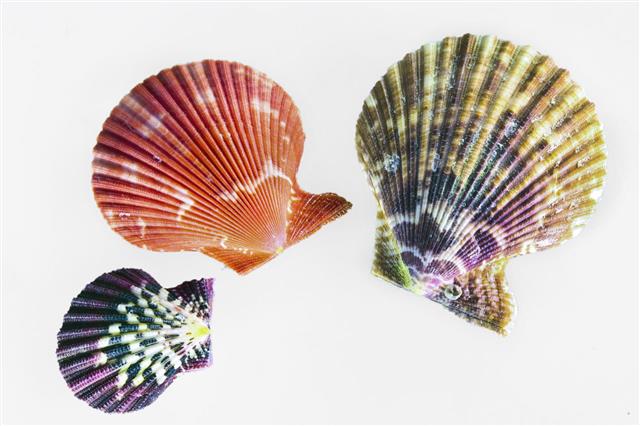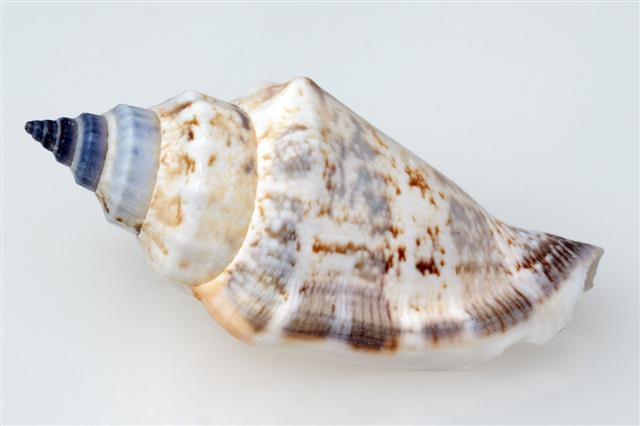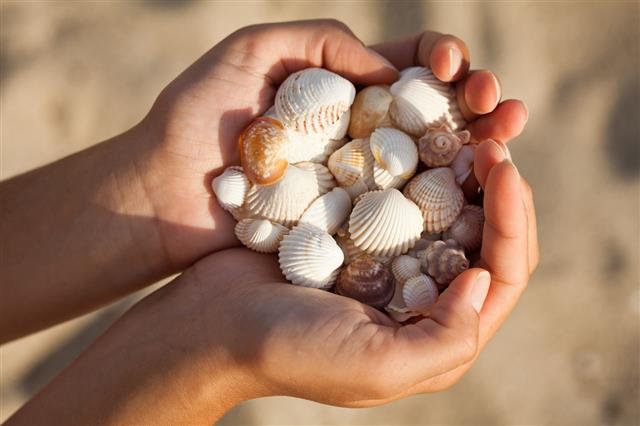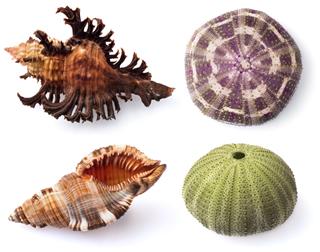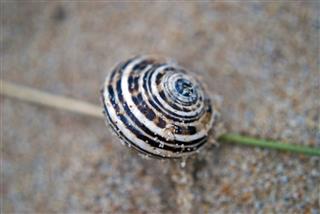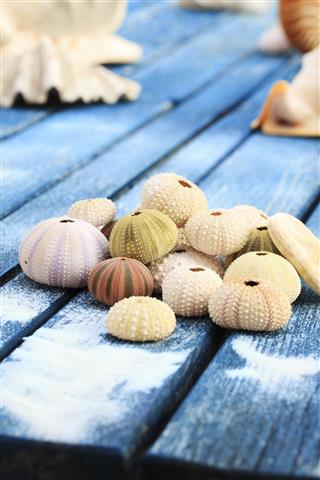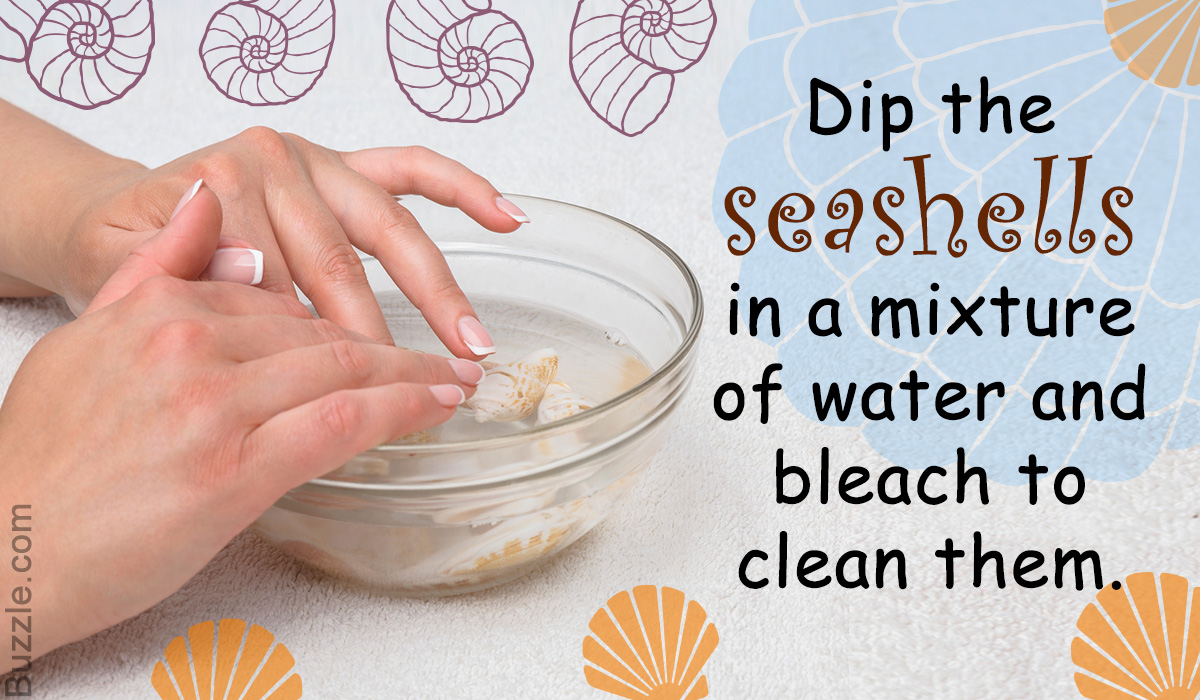
So you’ve got a couple of seashells on your vacation and want to preserve them. Before preserving you need to clean them thoroughly or they might fill your house with an unbearable stinky smell.
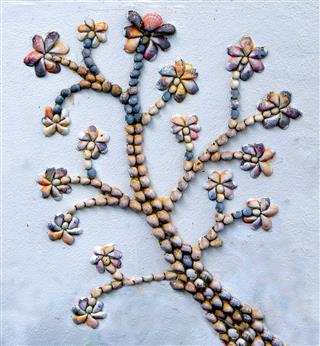
From children to adults, we all love to collect seashells from the beach and bring back home to show off to our friends and relatives. As they are found near the seas and oceans, it is a must to clean them properly before using. If there is life still in the shell, it will no more be beautiful and may turn your house into a stinky place. They are useful in several ways. Some people like to collect them and keep adding to their collection, some creative minds make beautiful accessories out of them like seashell jewelry, tattoos and even stylish mirrors. On the whole, to have maximum benefit from seashells, you will have to take some extra efforts and clean them before using. To help you out, the following part of the article has some techniques of cleaning seashells. You can pick up any of them as per your convenience and learn to clean seashells.
Ways to Clean Seashells
There are two types of seashells – living shells and dead shells. As long as living tissue exists inside the shell, it is a living shell and once the tissue is removed it becomes a dead shell. There are suitable methods of cleaning for both the types of seashells. We will begin with the easiest method and go towards the comparatively difficult ones.
The Burying Method
This is the first easy method but let me tell you, it is time-consuming and requires patience. It is more apt for a living shell than a dead shell. What you need to do is, choose a place outdoor, probably the backyard of your house where the seashells can lie safely without any disturbance. Once the place is decided, start digging it. You will have to dig deep enough (about 17-18 inches down) so that pets and other animals do not dig them out and your neighbors won’t smell them. The further job will be done by the tiny creatures in the soil like, insects, ants and worms. They will remove all living tissue from the shell and polish the shell from within. But this process will require at least a couple of months. The more you let the shells stay buried, the better the result will be.
The Bleaching Method
This method is useful for dead shells. The method is put up in steps for better understanding. The equipment that you will need for this method is:
- Seashells
- Water
- Bowl
- Household bleach
- Toothbrush
- Mineral oil
Step 1
Fill the bowl with water and liquid bleach in equal quantity. Make sure that the bowl has enough water to dip all the shells completely.
Step 2
Soak the shells until the flaky, sticky and leathery covering leaves the shell. It will take some time to remove the covering completely.
Step 3
Take a toothbrush and clean the shell gently. If you apply force, the shells might break.
Step 4
Throw away the dirty water and rinse the shells under fresh flowing water. If you want to display the shells you can apply mineral or baby oil which will give a beautiful shine to the shells.
The Boiling/Cooking Method
These steps are suitable for living shells. Follow the steps given below to clean seashells using the boiling method:
- Take a pot and fill it with water. Place the shells in the pot. Make sure that the water level is sufficient to cover all the shells.
- Heat the pot on high flame, so that the water starts to boil.
- When the water reaches a rolling boil, turn the heat on medium flame and let the shells cook for sometime.
- The amount of time required for cooking will vary according to the size and the number of shells in it.
- When you notice the difference between the initial stage of boiling and the later one, you can turn off the flame.
- Use a piece of cloth or a pair of tongs to remove the shells from the pot and place them in a plate. Make sure that you don’t burn yourself while doing this task.
- Let the hot shells cool down. Now, wrap them in a towel and rub gently to help them dry faster.
- Use tweezers or a toothpick to remove the animal tissue from inside the shell. Try to slide the whole thing off in one go because if any of the particles remain inside, you will have to perform the burying method and a lot of time will be wasted. Do not forget to dispose of the removed tissue.
- Once the tissue is removed, it becomes a dead shell. You just have to rinse it under flowing water to wash off the remnants, if any.
The cooking method involves use of microwave. It is similar to the above method, the only difference is, in the cooking method we use a microwave to heat the shells. The other steps are the same as the boiling method like removing the animal tissue from the shell and rinsing it under flowing water.
The Freezing Method
For this method, you will need a zip lock pouch. Put the shells in the pouch and fill it with water until the shells are covered. Lock the pouch properly and place it in the freezer. Let it remain there till it becomes frozen solid. Then remove it and allow it to defrost completely. By now, the living tissue will start losing its hold over the shell and you can easily remove it with tweezers or your fingers. Rinse the shells thoroughly to get rid of the remnants of the tissue.
These were the methods for cleaning seashells. Using these methods, you will be able to preserve and use your seashells for many purposes. But do not forget to wear protective eye glasses while cleaning the shells. Choose the method according to your need and in no time, your shells will be ready for use.
