There’s no need to feel anxious about how to do this; many of us think that glass-cutting involves an elaborate process with complicated, expensive tools―but that isn’t the case. Let’s take a look at unbelievably simple ways on how to perform this at home.

Glass-cutting is not just a DIY project for those who dare to experiment with something so fragile and dangerous, but also for first timers. All it takes is a little patience and careful planning to be able to complete the project, without getting yourself hurt, of course! Here, you’ll find two techniques on how to cut glass effectively, where it is advisable to accompany young children while they perform this. If you aren’t entirely sure of yourself, it is better to ask someone to assist you while you work.
How to Cut Glass the Right Way
Using a Glass Cutter
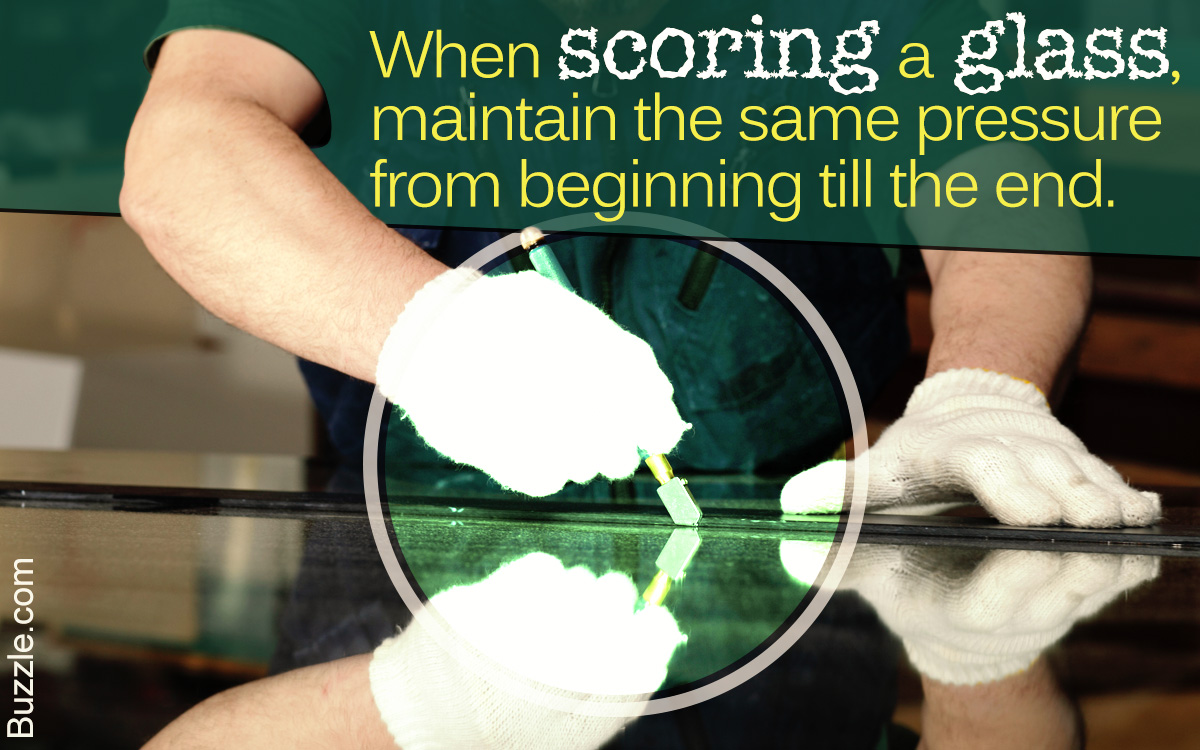
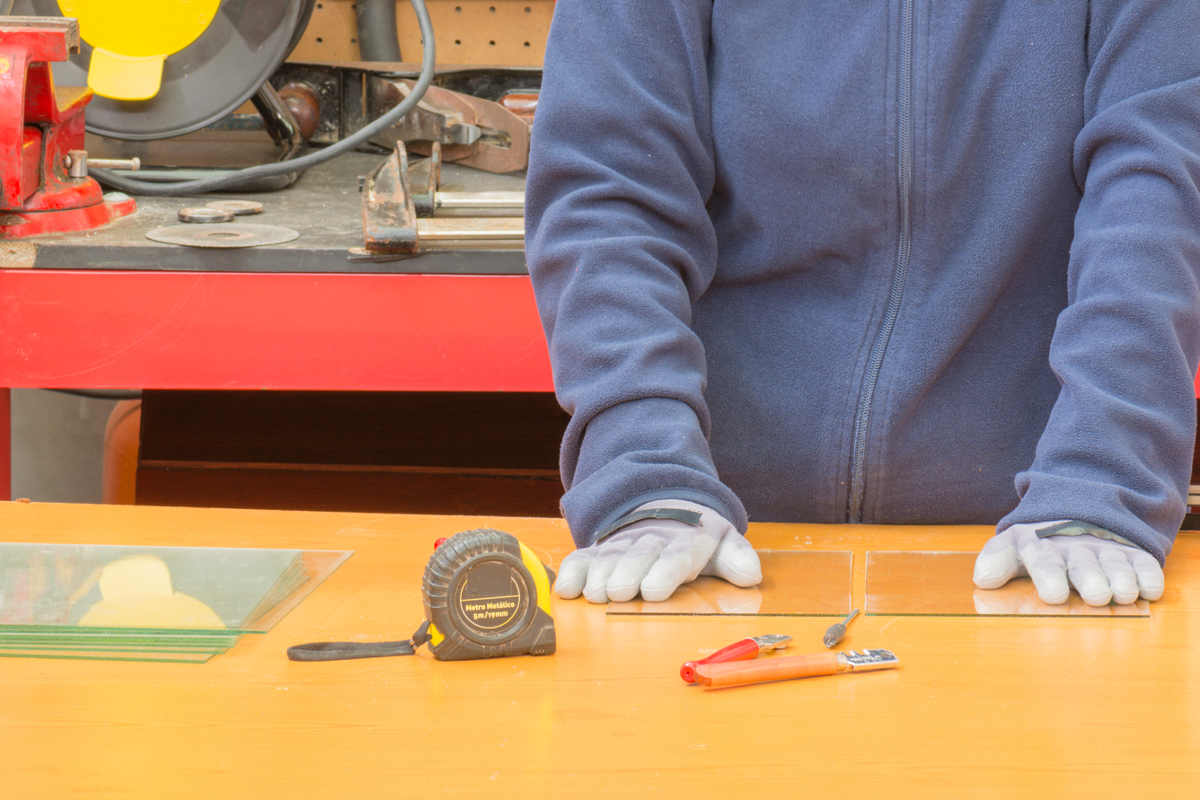
You’ll need to get yourself a glass cutter, a metal ruler, small bowl of oil, and a marker. This method works ideally on expansive sheets of glass, but you may also try it out on other things. Using the metal ruler, divide the face of the glass surface into two equal halves, making sure you have enough room for your hands to snap the two pieces in half, after you’ve scored the glass. Using the glass cutter, wet the tip in the bowl of oil before aligning the ruler on the sheet of glass of where you’ll need to score it.
Along the edge of the ruler, gently and slowly glide the glass cutter from top to bottom, being sure not to score it again after the first time. You can use the marker to draw a line along the glass, to help realign the ruler in case it shifts. Once you’ve scored the glass, apply pressure to the center of the sheet, gently nudging both ends until they fall apart. With considerable force, it’ll split into two. You can use a sharpening stone or sandpaper to smoothen the rough edges of the glass, once broken in half.
Using Fire and Ice-Cold Water
According to DIY blogger Jade, on her website Jader Bomb, cutting glass is anything but impossible to do. In her post of how to cut glass, she explains with the help of images, how the process is done using simple household materials to get the perfect cut. All you need is a bit of twine, small bowl of nail polish remover, tub of ice-cold water, stove lighter (she uses a matchbox, but we prefer the former), and a glass bottle. Soak the twine in a small bowl of nail polish remover, before tying it firmly around the base of the bottle. Then, gently pour the rest of the nail polish remover over the twine (hold the bottle by its neck, horizontally), setting the bowl aside before using the stove lighter to set the twine on fire.
Keep the lighter aside while turning the bottle slowly (horizontally) while the twine is still alight; don’t stop turning the bottle. Just as the flame is about to go out, dunk the bottom of the bottle into the tub of ice-cold water. This is when you should hear an audible crack―the bottom should come off beautifully―if it doesn’t, don’t be afraid to give it another go. You can use colored bottles to diffuse a soft glow by keeping a votive candle underneath it, or any other candle that fits within it. Pretty cool, huh?