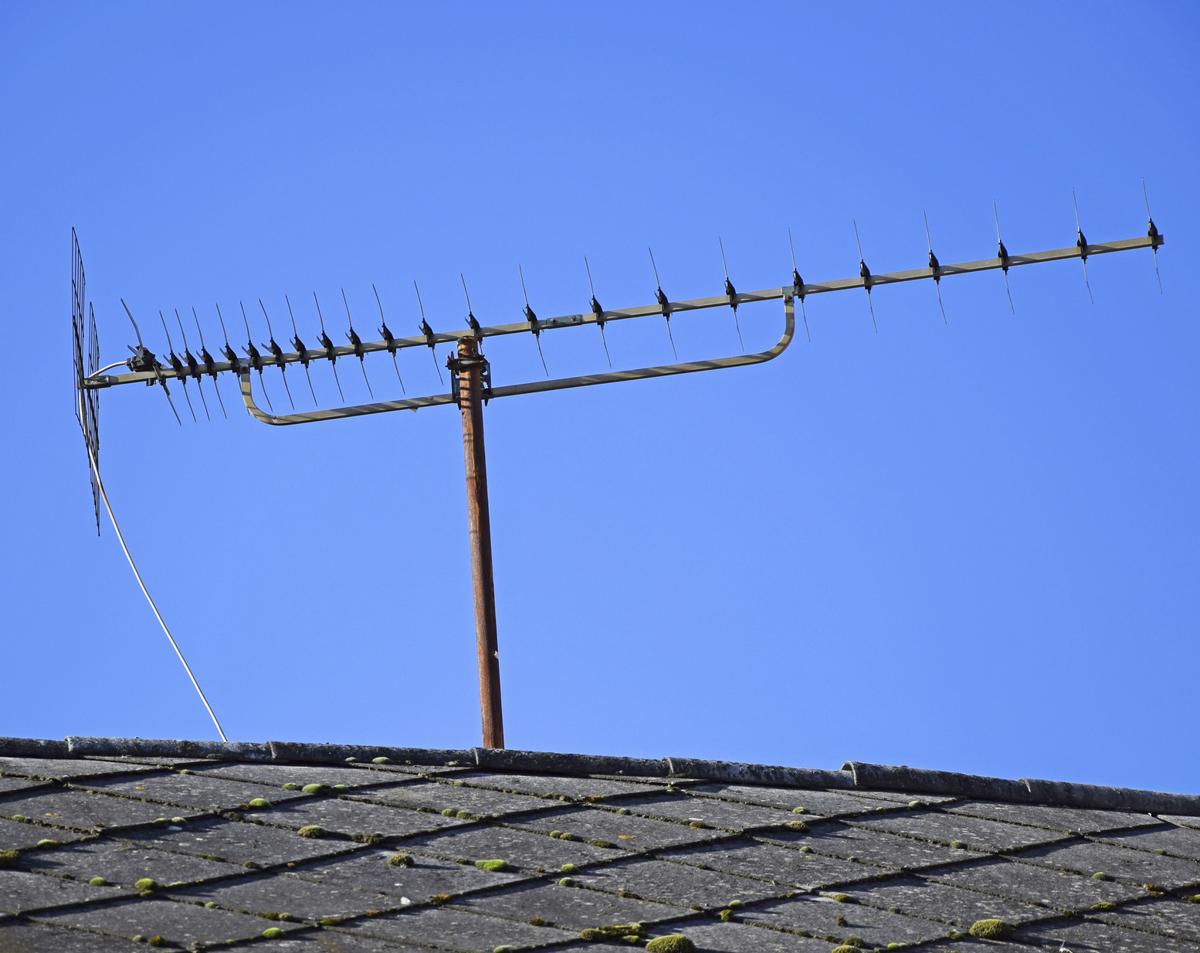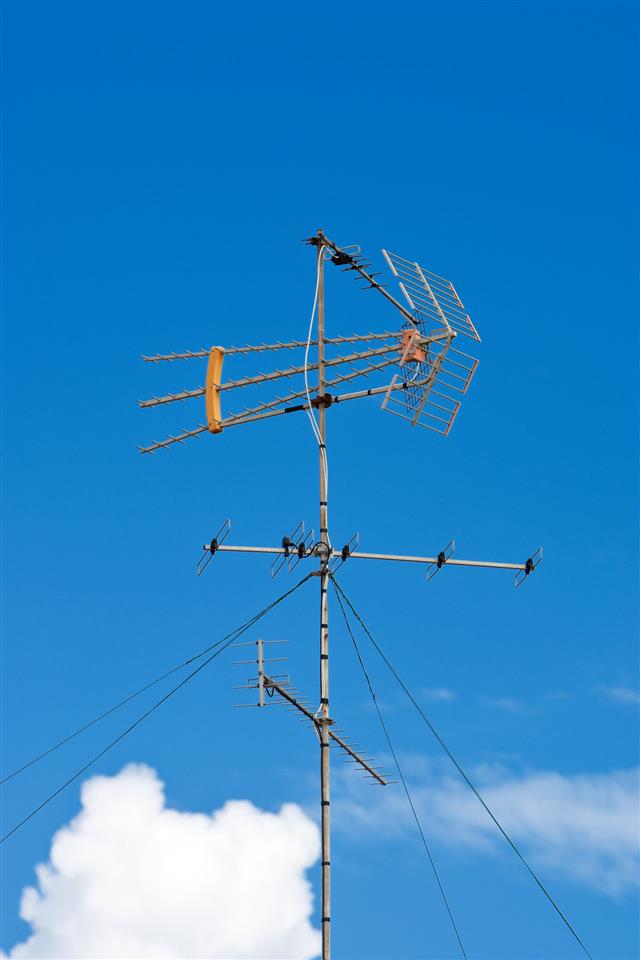
One of the best ways to enjoy watching your favorite sitcoms unhindered is to have your own homemade antenna. We have enlisted a few ways you can build your own TV antenna.
Homemade TV Antenna Using…
With household expenses reaching its peak, it is but obvious that a cable TV bill would only come as an unwanted expense. Well, the solution to this problem lies in the comforts of your very home itself. All you need to gather is, a few discarded equipments and you can put together your own TV antenna. The best part of making an antenna is that it is cheap, affordable and you do not have to pay for watching what you love. Besides, these antennas work well to give you a HDTV experience on your flat screen TV, thus making it a better alternative than investing in DTV.
Among the things required to make your antenna are…
From the Tool Box


Around the House


From the Stores


Putting together your own TV antenna is not much of a task. Quite the contrary, it is as easy as saying one-two-three. One – you collect the needed material, two – you assemble the parts, three you tune it. Sounds easy, doesn’t it? Well, let’s get to the main designs then.
Design #1: Using Wooden Planks and Wire Hangers

Step #1: Keeping things ready
- 22″ x 8″ plank of wood (pine wood is preferred)
- 8 wire hangers
- 8 flat-head screws
- 8 washers
- Copper wire
- Insulation tape
- Balun
- Drill machine
- Coaxial cable
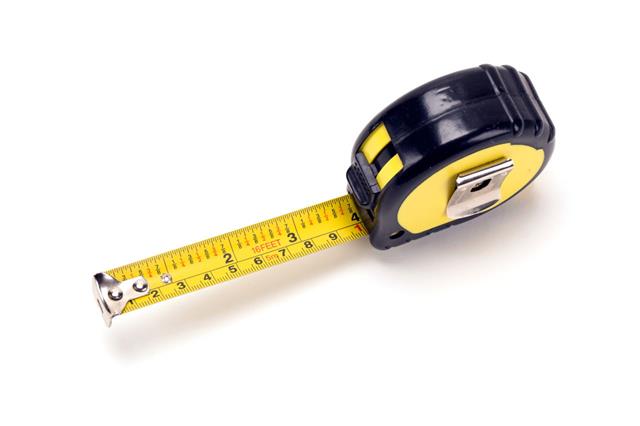
- Measurement tape
- PVC pipe or stick to hoist the antenna (optional)
Step #2: Measure and mark the plank to be used
- Start by leaving a 2″ space at one end of the plank.
- Leave a margin of 1 1/2″ from either side of the plank and draw a line across the length of the plank.
- On these lines measure and mark a distance of 5 1/4″ from the initial 2″ mark.
- You should get 2 rows of equidistant marks.
- Drill holes at the 8 marked points on the plank of wood.
Step #3: Use the wire hangers to create receptors of the antenna
- Straighten out the wire hangers so that you have 4 equal wires.
- Measure the wires and find the mid point of each wire.
- Bend the wire at the center to form a 45 degree angle.
- Ensure that you maintain a distance of 3″ between the two ends of the wire.
- Attach the wires to the board with the help of screws and washers.
Step #4: Install the Wire and Balun
- Before you tighten the screws, pattern the copper wires as shown above.
- Insulate the wire where they intersect so that they do not make contact.
- Attach the balun (transformer) to the two phasing copper wires.
- Secure them into position by fastening the screws and washers
- Trim off the sharp edges of the wire hangers to avoid injury.
Step #5: Ready to be tested
- Attach the coaxial cable to the balun.
- Attach the antenna to the TV through the coaxial cable.
- Position the antenna to receive signals.
- Fine-tune the settings and enjoy the show.
In case you wish to use a reflector, cover pieces of cardboard with tin foil and attach to the plank. Ensure that the wire and the foil do not make contact.
Design #2: Using PVC Pipes

Step #1: Keeping things ready
- Two 15″ x 2″ PVC pipe
- PVC Angle
- Conducting Wire
- Balun
- Coaxial Cable
- Drill Machine
- 2 flat-head screws
- 2 washers
- Measurement tape
Step #2: Preparing the frame
- Leave a 2″ margin from one end of the pipe and measure 1.75″ on the pipe.
- Mark 6 equidistant spots on the pipe each 1.75″ apart from the other.
- Using the drill machine, drill holes in the pipe.
- Remember to go all the way through to the other side so you can pass the wire through.
Step #3: Pass the wire through
- Starting from the fourth hole, curl the wire around the pipe.
- Pass it through the holes to form an increasing spiral.
- While forming the sprial ensure that the wires do not come in contact with one another.
- Pass it through the last hole and flatten it across the length of the pipe to fasten it to the center.
- Fasten the other loose end a little distance away from the first.
Step #4: Setting it up
- Attach the balun to the frame of the antenna.
- Connect the coaxial cable to the balun
- Attach the other PVC pipe to this frame using the PVC angle.
- Set up the antenna indoors or outdoors as per your requirement.
- Connect the antenna to the TV using the coaxial cable and tune your settings.
Design #3: Using a Bicycle Rim
Design #3: Using a Bicycle Rim

Step #1: Keeping things ready
- 26″ bicycle rim (mountain bike)
- Copper wire
- Four 12″ x 1.25″ PVC pipes
- 2″ PVC end cap
- 20 foot x 2″ PVC pipe
- Drill machine
- 8 flat-head screws
- 8 washers
- Coaxial cable
- Balun
Step #2: Prepare the frame
- Start by getting rid of the spokes from the rim.
- Prepare a frame putting together the four 12″ PVC pipes to form a cross.
- Join them using the PVC cross
- Screw this frame to the bicycle rim.
Step #3: Wired up
- Pass the copper wire through the spoke holes.
- Curl the wire around the rim forming loops.
- Ensure the wire doesn’t touch any two loops on either side.
- Fasten the loose ends of the wire to the PVC pipe.
Step #4: Attach the balun
- Attach the balun to the two ends of the wire.
- Attach the coaxial cable to the balun
Step #3: Set it up
- Fix the frame onto the 20 foot pipe.
- Screw it in place with a flat-head screw and washer.
- Wind the coaxial cable around the pipe.
- Mount the antenna on the roof/ground.
- Connect the coaxial cable to the TV
- Fine-tune the settings and it is ready to be used.
These antennas can be placed indoors to safe guard it from storm and lightning. They work well to pull in HDTV signals and can be connected to your flat screen TV.

