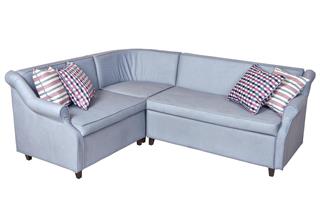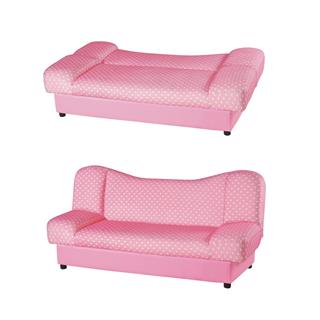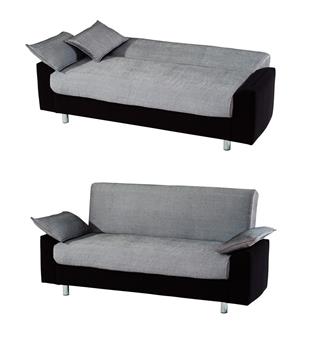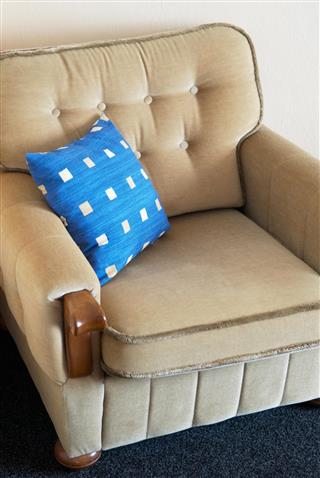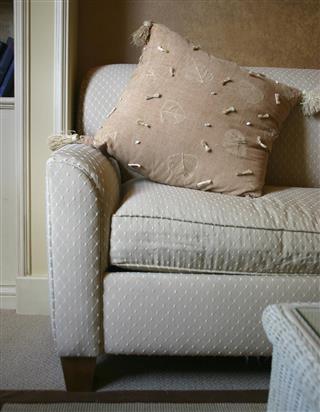
This article will serve as a tutorial on making a recliner slipcover at home and use it to refurbish that ragged looking recliner into a brand new one!
If you’ve had the same recliner for more years than you can remember, then you’re bound to have noticed by now that it’s probably all worn out and looks like it’s bearing the weight of a million worlds. If you haven’t, then either salute the extra superior quality of the recliner or you’re in denial. Let’s assume the latter for the purpose of this article, and take this as a perfect opportunity to show you how incredibly easy it is to give your old recliner an instant (well, almost) makeover, by making it a new slipcover. The process is a very easy one and one that you can complete in half a day tops, if you sit at a stretch and vow to complete it. Well then, let this HomeQuicks article lead the way.
Making Recliner Slipcovers
First of all, you need to banish one misconception from your mind. What is it? That slipcovers for recliners can only be bought! If you’re not willing to believe that, then honestly, you have nothing to find here. But if you’re willing to take a plunge into something that can be a truly interesting and creative weekend project, then you can simply follow the steps given below and make your recliner look as good as new!
✂ Measure
Alright, first things first, let’s get out the measuring tape. Now, take a pencil and paper and either write down the different parts of the recliner or you can draw a rough picture of the recliner onto the paper and label the parts. Now, using the measuring tape, you need to take exact measurements of all the different parts of the recliner that you intend to cover. For the back, measure it from the top all the way to the ground. For the arms, begin from the inside of the arm and work your way to the outside and to the ground. Keep noting down these measurements on the paper, next to the labels or the list of parts. Once you’ve measured all the parts, proceed to the next step.
✂ Go Shopping
Alright, you have all the measurements with you. Now what you have to do is go shopping and buy the kind of fabric that you want to make your recliner chair cover in. There are a lot of different types, materials, designs and patterns available, so prepare to be utterly befuddled! Now, when you buy the fabric for the slipcovers, you need to buy at least 3 inches of cloth in excess of the measurements that you have taken for each part. You’ll need to hem them up, so buy extra cloth. You can always discard unused cloth, but if you get less cloth, then it can turn into a real disaster!
✂ Pin it Up
Get back home and get your scissors and pins out. Now, using the measurements that you took and the fabric that you just bought, cut out pieces for the different parts of the recliner. Remember to cut the extra cloth for every part. Cover each part with the pieces that you cut out and pin them up to get a rough idea of how the recliner will look before you give it a final stitching.
✂ Go Sew
Once you have seen what the almost finished product looks like, you can remove the pinned up pieces and use a sewing machine to give the folds a tight stitching. Sew them along the folds and cut off the extra threads that hang. Do this for all the different parts of the recliner. You’ll have to do one thing intermittently though. Keep checking to see if the tightness level is alright and if they fit properly and stitch them up accordingly.
Well, your recliner slipcovers are ready. All you have to do now is fit them onto the recliner and check that all the covers fit all the parts properly. Once they do, your recliner is ready with a total facelift! Enjoy it!
