Over time, tiled, stone, and wooden floors tend to look dull and lifeless, and lose their luster. The simplest way to give back the floor the lost luster is by using a floor buffer to refinish it. Got you thinking about how to use a floor buffer?

Did You Know?
An average floor buffer operates at a rate more than 1,500 rotations per minute (rpm) or more, and attains full speed the moment it is turned on.
Worried about a stained floor? Do you tip-toe around so as to prevent scratches and skid marks on the floor? What to do about those pesky skid marks that someone left behind, or those tiny scratches scaring the beautiful flooring? Why worry, when you have a floor buffer to refinish the flooring, and bring it back to its previous glory!
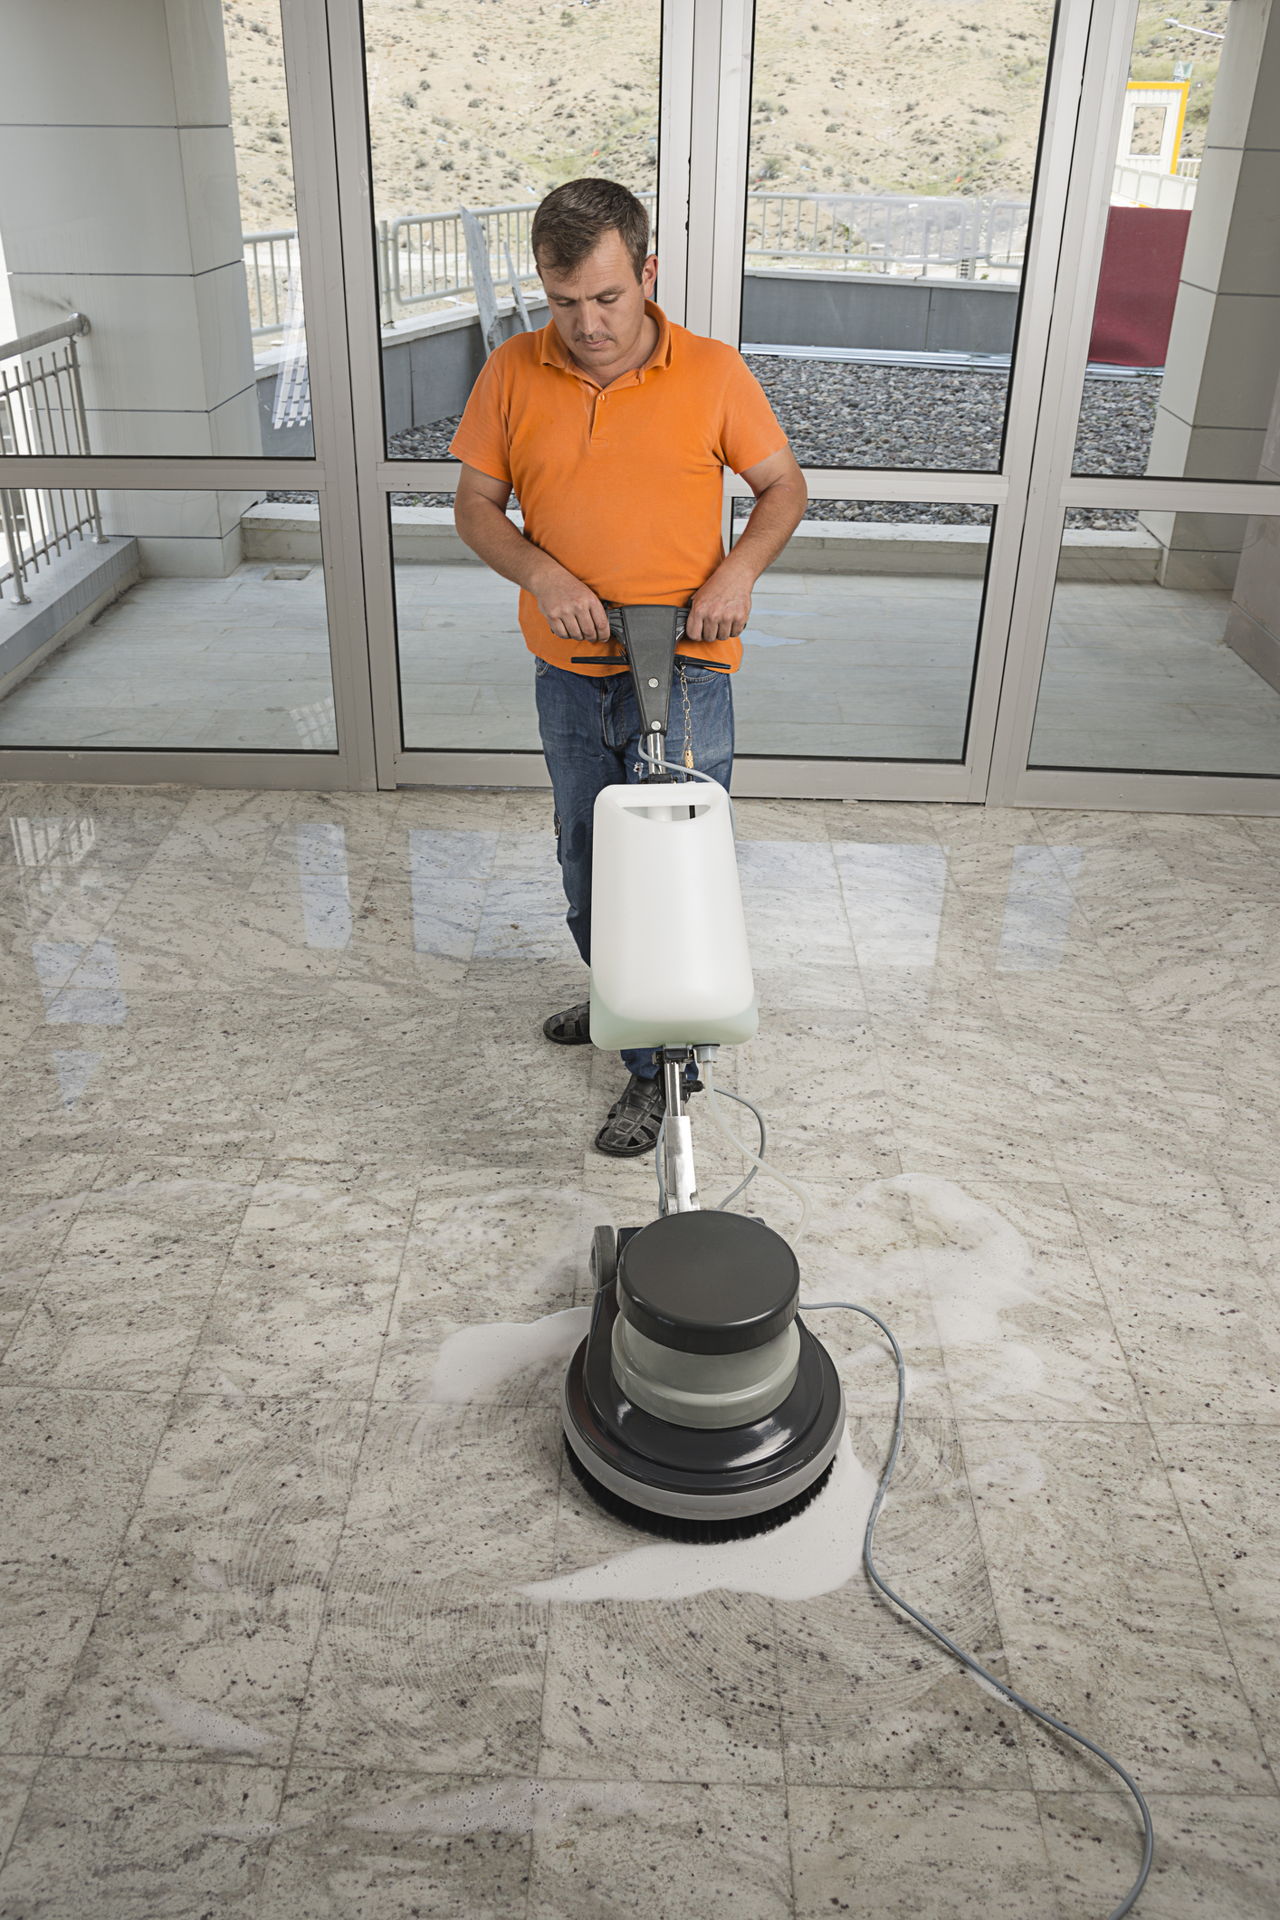
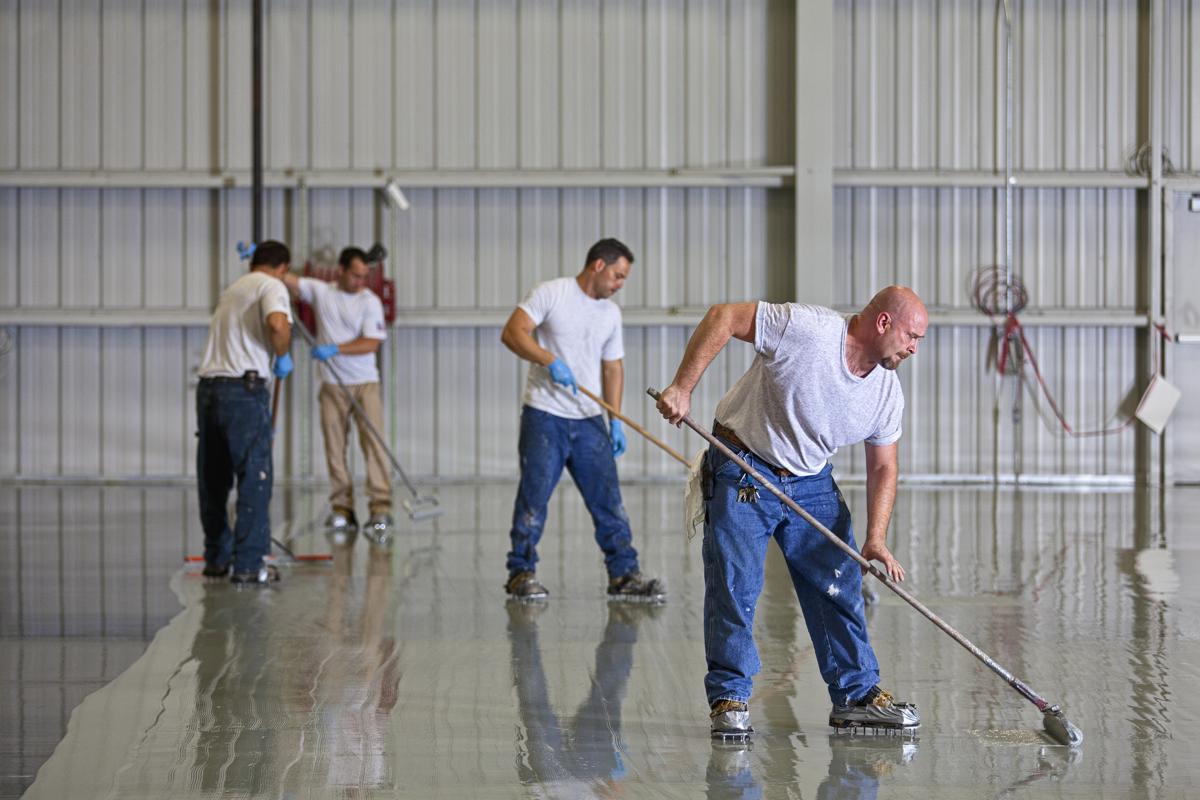
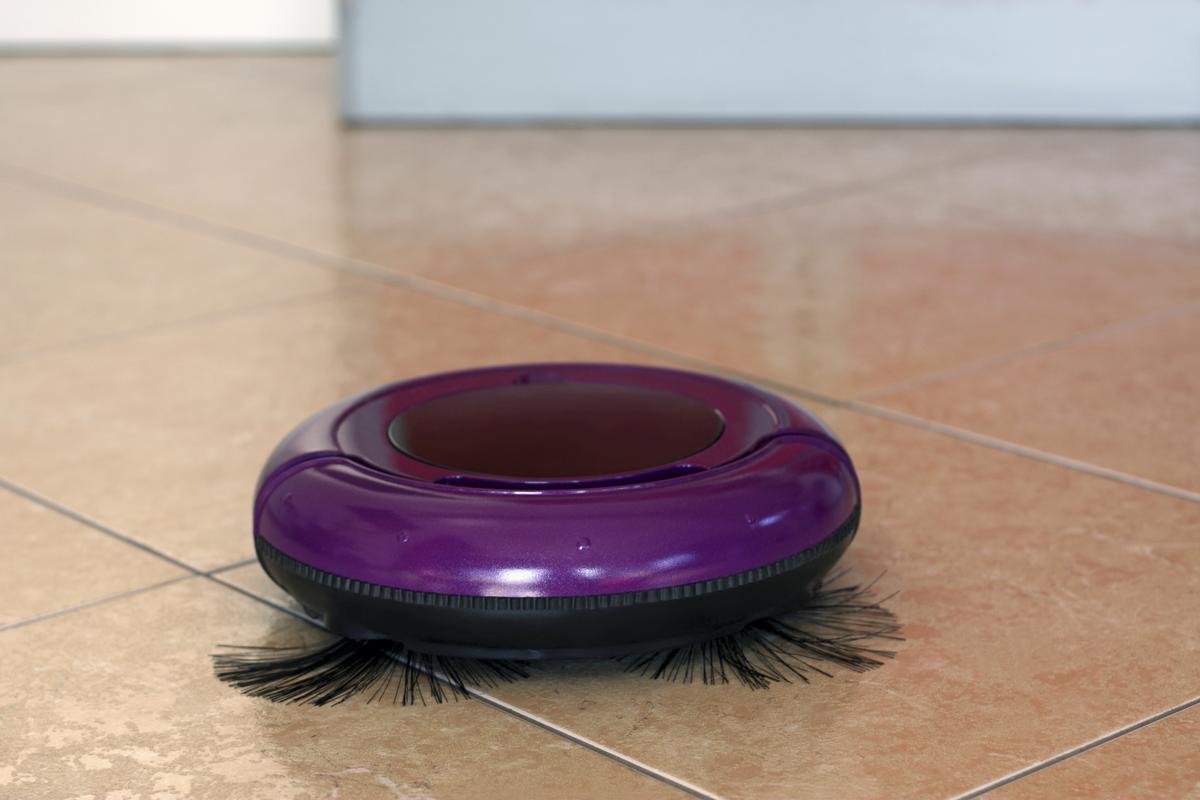
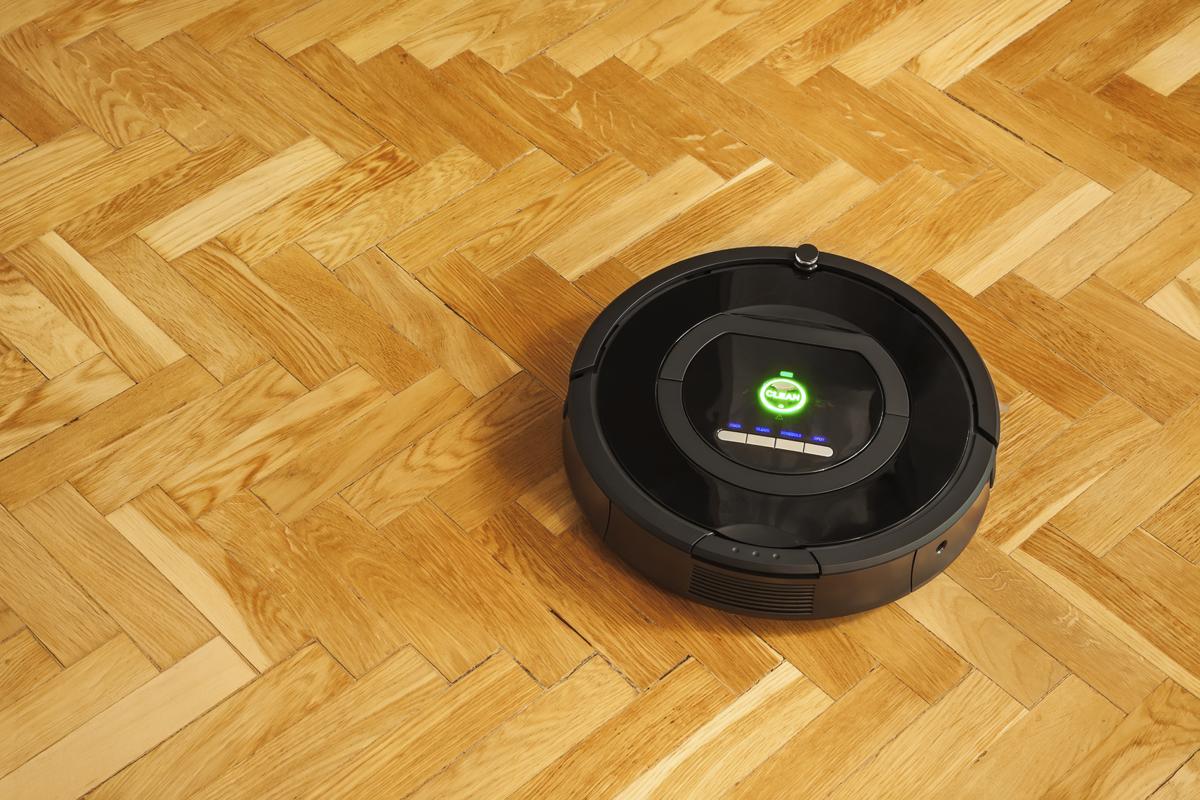
Floor buffers or polishers have a reputation for being difficult to operate. They are bulky to use, making it very difficult for the operator to maneuver them around. This is an art that will take a little time to master. Like the vacuum cleaner, floor buffers are upright electrical cleaning systems. They are used to clean and shine flooring. However, these cannot be used on carpeted flooring. You can use them on tiled, stone, or wooden flooring. The high-speed models are sometimes called ‘floor burnishers’. Their high rotation speed generates heat, which further helps in creating those perfect mirror shine floors that are the envy of any dwelling.
How to Use a Floor Buffer
Step 1: Clear the floor of any furniture. If possible, shift everything to another room.
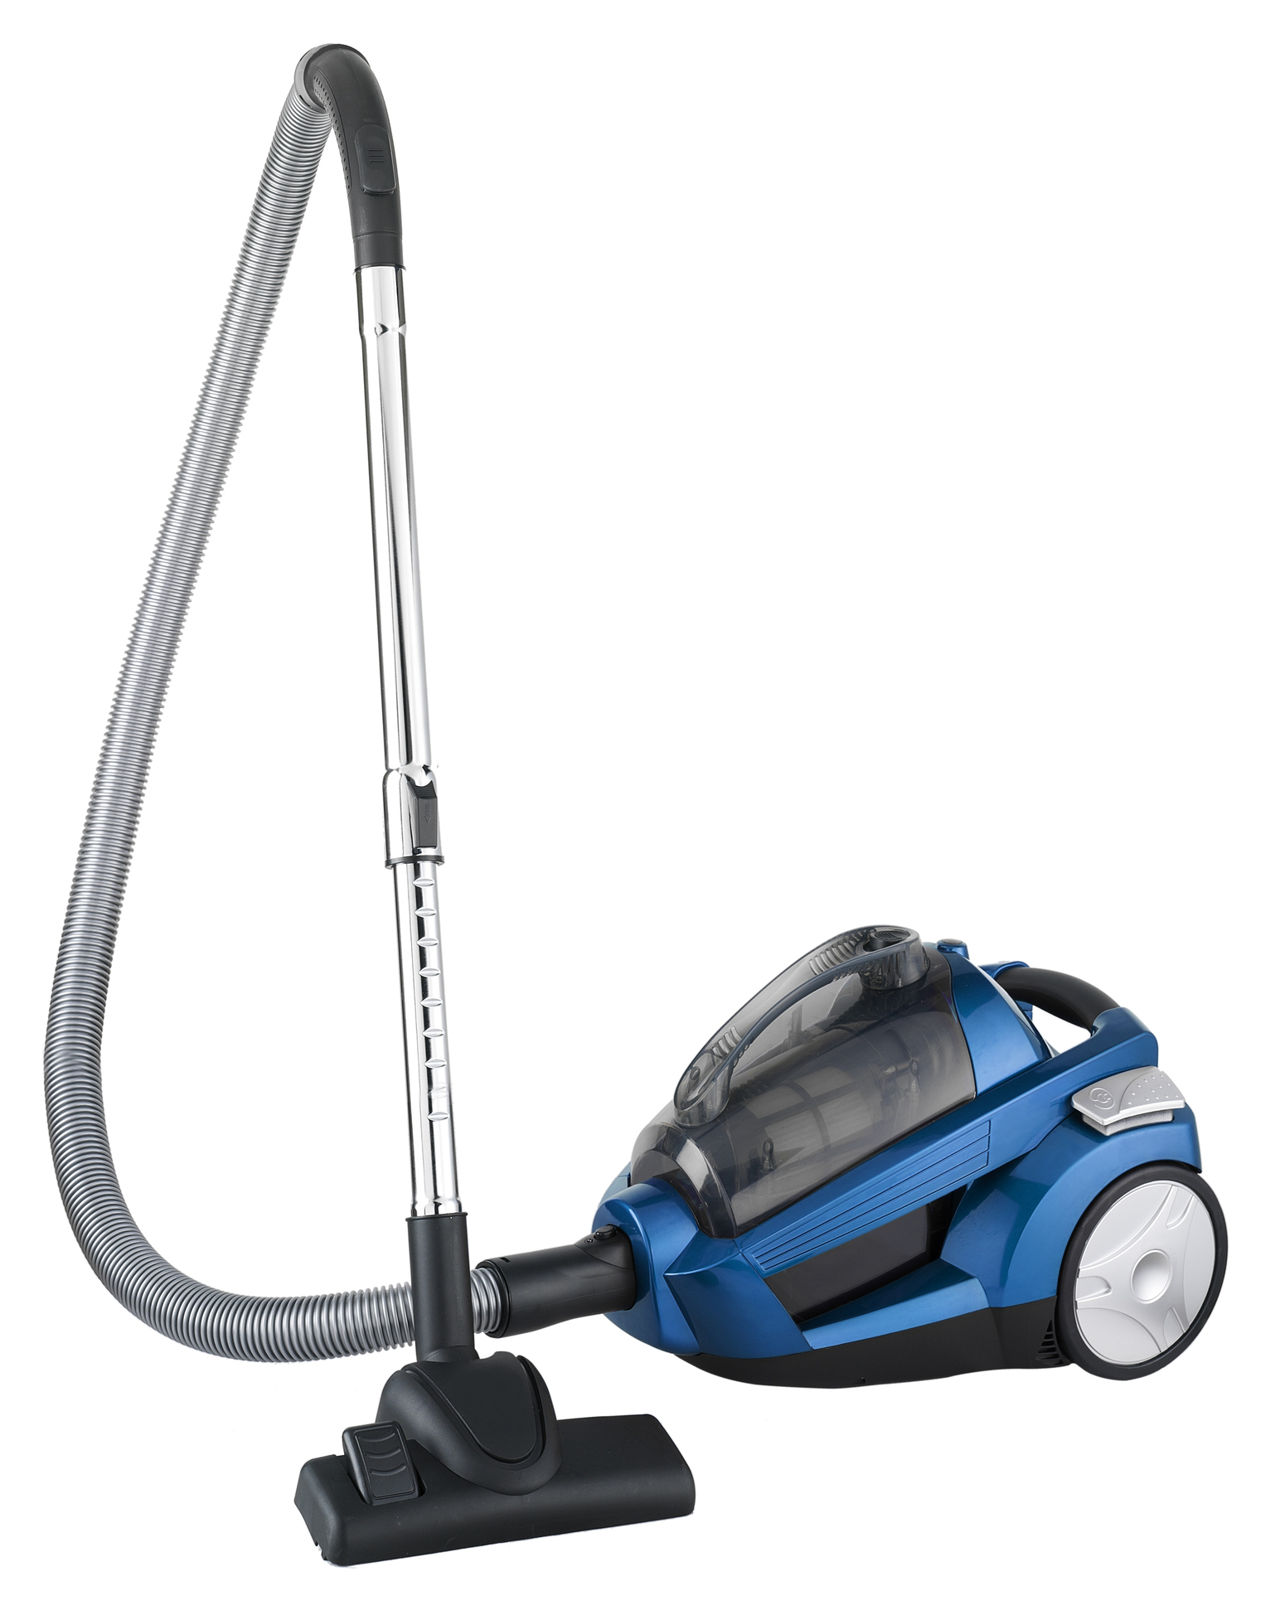
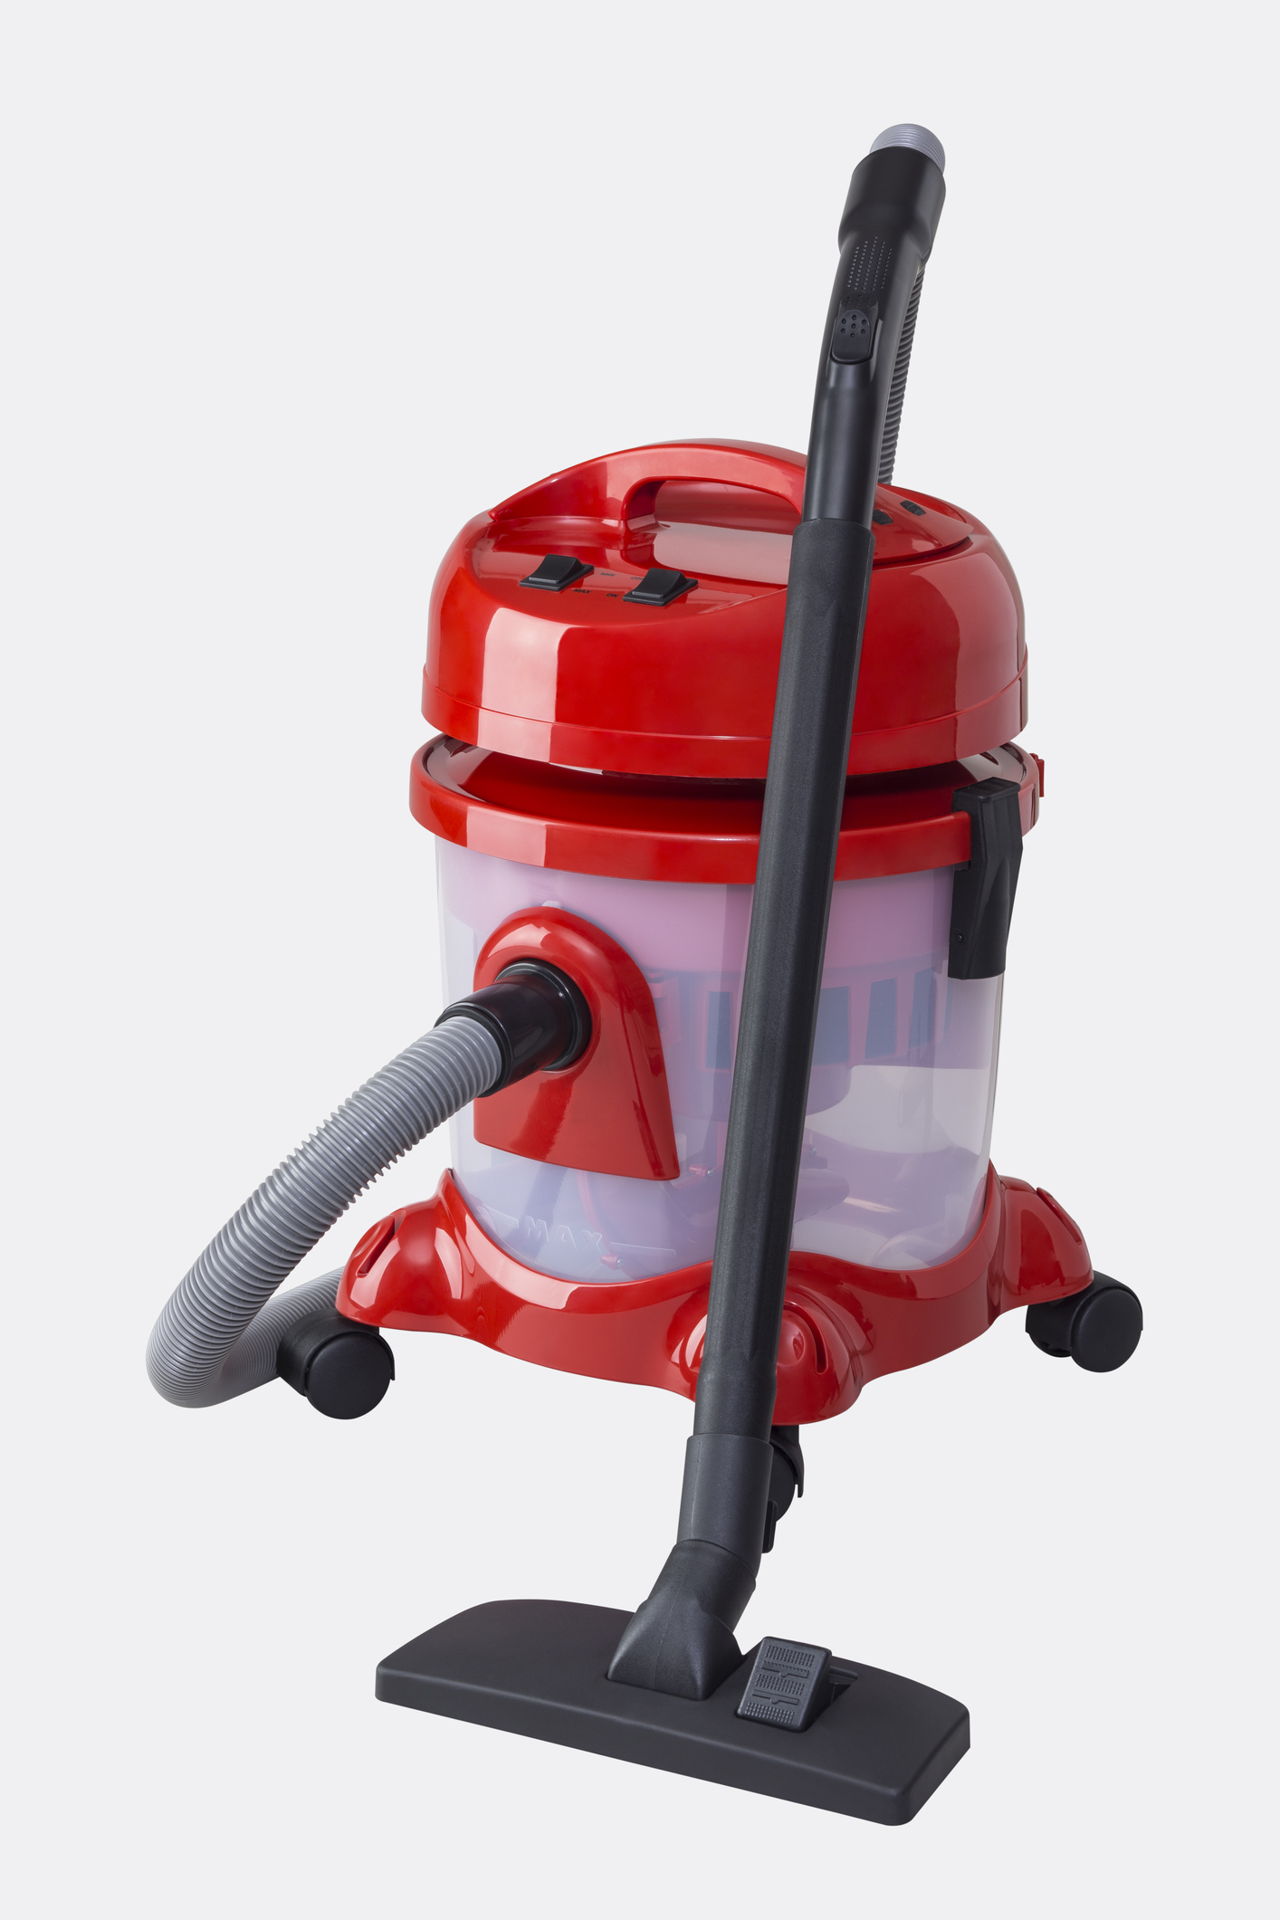
Step 2: If possible, use a vacuum cleaner to clean the floor. Buffers can remove stains and tiny particles of the floor, but you will need to remove everything else before you begin the buffing.
Step 3: Replace the buff pads if they seem worn out or soiled, or missing portions of the fabric. Using a stained or damaged buff pad can leave your flooring with more scratches than when you started with.
Step 4: Wear a pair of gloves. This will enable you to have a better grip on the handle of the machine.
Step 5: Apply buffing solution or polishing cream on the floor.
Step 6: Go to the farthest corner away from the entrance to prevent walking on freshly buffed surface. Walking on it after buffing can scuff the floor, and all your hard work will go in vain. Make sure that you have an electric outlet as per the cord length. Plan according to the electric outlets.
Step 7: After going through the owner’s manual, start the machine. Choose an appropriate setting as per your floor type and dirt.
Step 8: The pads rotate fast; this vibrates the entire machine. You don’t want to end the buffing before you begin it. The handle should be waist high, and you should lean on it. Keep the center of weight of the motor on the base of the machine. Learn to control the machine. Hold on tight and start slow, till you get the hang of it.
Step 9: Move laterally in a back and forth motion. Change your direction to give an even buffing. Use tiny movements to redirect the machine. Overlap about ⅓ flooring as you continue buffing. This will ensure that you don’t miss any spot. Move a few steps at a time to ensure that you do not miss a spot. You can adjust the speed as per your comfort and level of damage of the floor.
How to Use a Floor Buffer on Hardwood Floor

Step 1: Clear the floor of any furniture.
Step 2: Vacuum the floor to remove any signs of dirt or dust. Particles of dirt can stain the floor further.
Step 3: Replace the old buff pads with new ones.
Step 4: Remove old wax before buffing. To do that, you can re-apply the old wax finish and then buff them, or a safer solution is to completely strip and refinish the floor.
Step 5: Apply light pressure on the machine to avoid any permanent damage.
Step 6: Keep a little distance from the dry wall. Use a masking tape of 2 inches width beforehand to avoid any damage to it. You may need to buff this area by hand, as the machine will be too bulky to go close to the dry wall.
Step 7: Once you are done with the entire floor. Vacuum the whole floor again. Remove all traces of dust left behind. Don’t forget to vacuum the window sill. The dust accumulated can later fall on the freshly buffed surface and ruin it. You can also use a damp cloth to clean off any dust.
Step 8: Before you begin, read the instruction and directions given by the manufacturer. To mix the finish, gently rock the bottle; this will help prevent air bubbles from forming. You can also pour the finish into the paint tray. Dip the applicator into the finish and apply the finish along the wall. Apply a thin light coat and use long overlapping strokes, and continue until the entire floor is coated. The trick is to follow the grain of the wood. You can always re-apply another coat if you find the second coat too light.
Step 9: To help it dry, increase the ventilation of the room. This will also reduce strong fumes from building up. Wait for the floor to dry completely before walking on it.
Before you begin refinishing hardwood floors, find out more about the previous floor. Some builders use aluminum oxide on the floors, which prevents it from being refinished and buffed properly.