The beauty of a house depends a lot upon its walls. Repairing the drywall after wallpaper removal is necessary to fix the damage caused to it due to the same. This article explains how to repair drywall.

Wallpapers become old and faded after a certain period of time. Hence, the need to replace them arises. Before pasting the new wallpaper, the old one has to be removed. After removing the old wallpaper, holes, cracks, etc. tend to develop on the wall, which gives an unpleasant look to it. It might also cause damage and hence, repairing the drywall after removing the wallpaper is a must.
If the correct procedure of removal is not followed, then it can get quite messy. If the damage is to a large extent, then it is better to replace the drywall entirely. Initially, it may not seem to be a very feasible option. However, it is cheaper and quicker than the process of repairing the drywall after wallpaper removal.
Wallpaper Removal Procedure
Before you start with the actual procedure, make sure that you have the materials required for the repair handy. Materials like a utility knife, joint compound, sandpaper, oil paint, drywall sealer, etc. are required for the process. The knife should be 6 inches or 12 inches in length, and should consist of a comfortable handle.
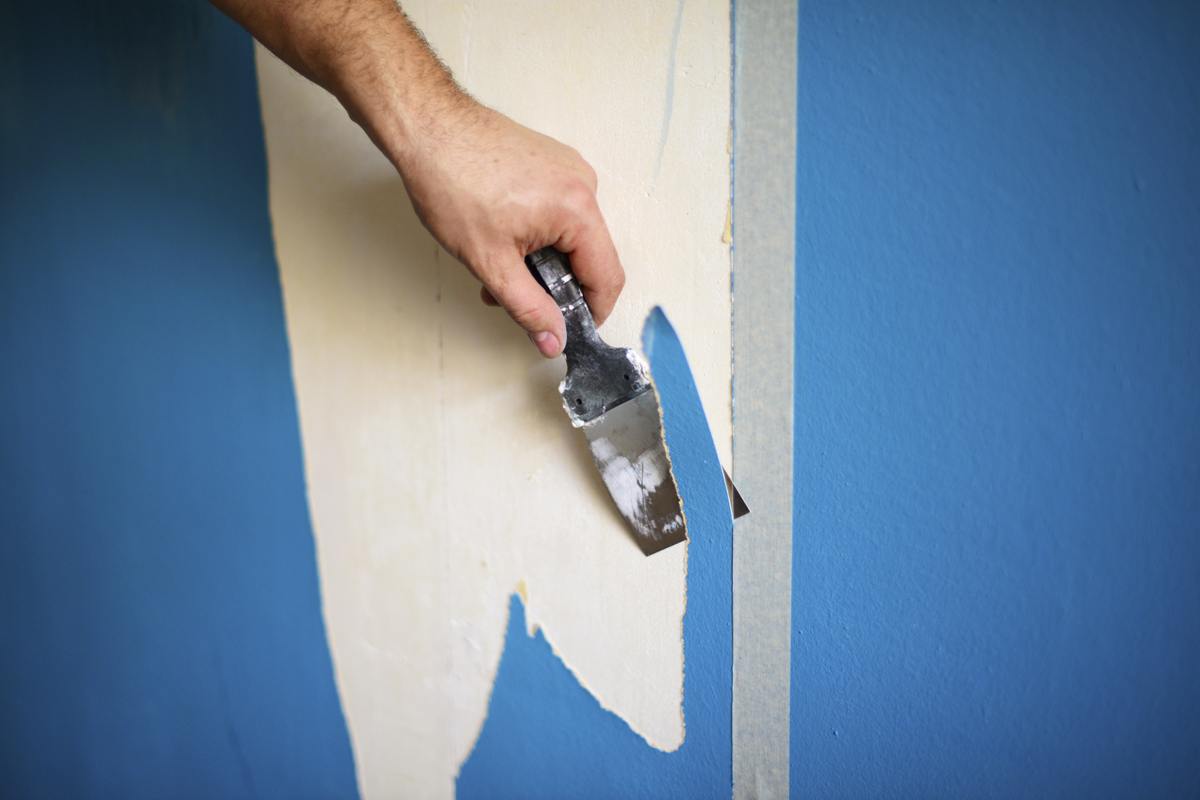
Removal of wallpaper leads to the tearing of the paper surface of the drywall. This gives rise to a rough surface which will peel if wet. With the help of drywall knives, remove all the loose pieces. However, make sure that you remove only the loose pieces and not the other ones, else it will give rise to cracks and repairing drywall cracks will again consume more time. Each time you scrape, more and more wallpaper will tend to loosen, which must be avoided. You can also use sandpaper for the same purpose. In fact, it is a better method as it will only remove or twist the loose pieces and will not remove the others.
Drywall Repair Procedure
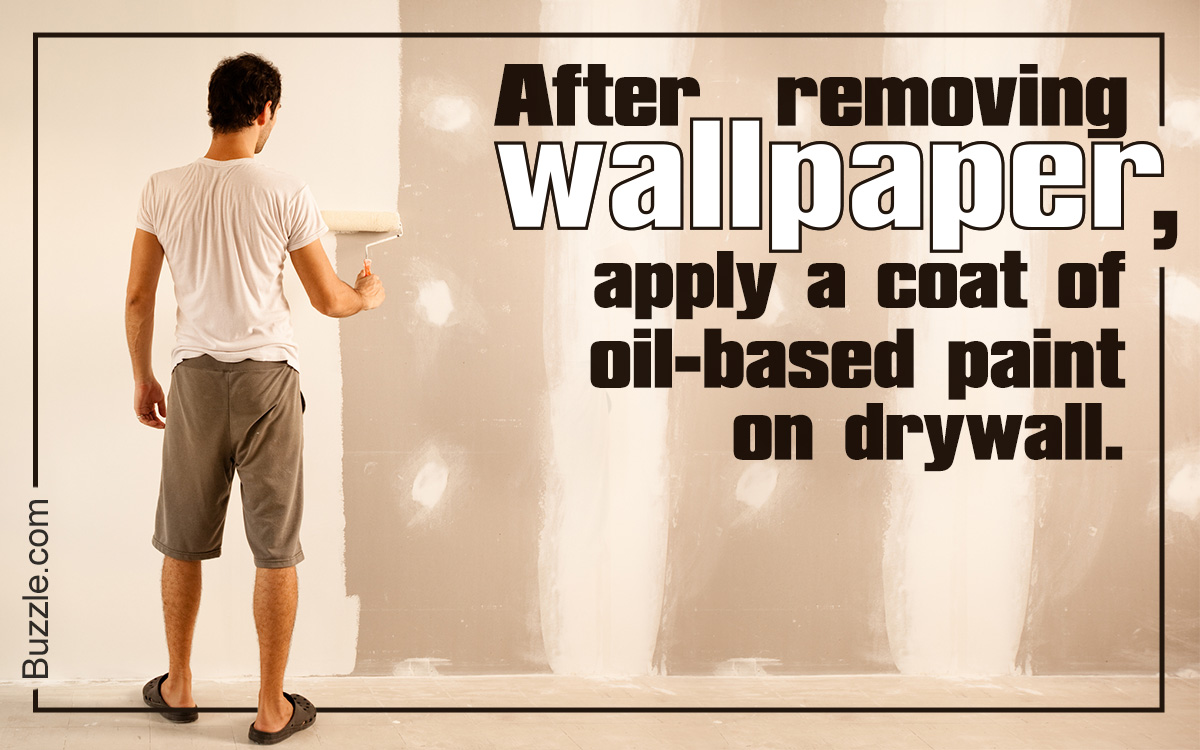
Now, you can apply a coat of oil-based paint or special drywall sealer to the roughened paper. This will help in re-adhering the bits of paper to the wall and also in repairing the holes. The fumes of an oil-based paint are dangerous. Hence, take care while using it in places which have poor ventilation.
After removing the loose wallpaper and applying a coat of oil-based paint, coat the surface of the wall with a joint compound. Allow it to dry thoroughly. After it has dried, check the surface for the presence of bubbles. Make sure that you remove all the bubbles, or else they will be visible through the paint. They can be cut out with the help of a utility knife. After you have cut it, do not forget to re-coat the surface. Do this till all the bubbles are removed.
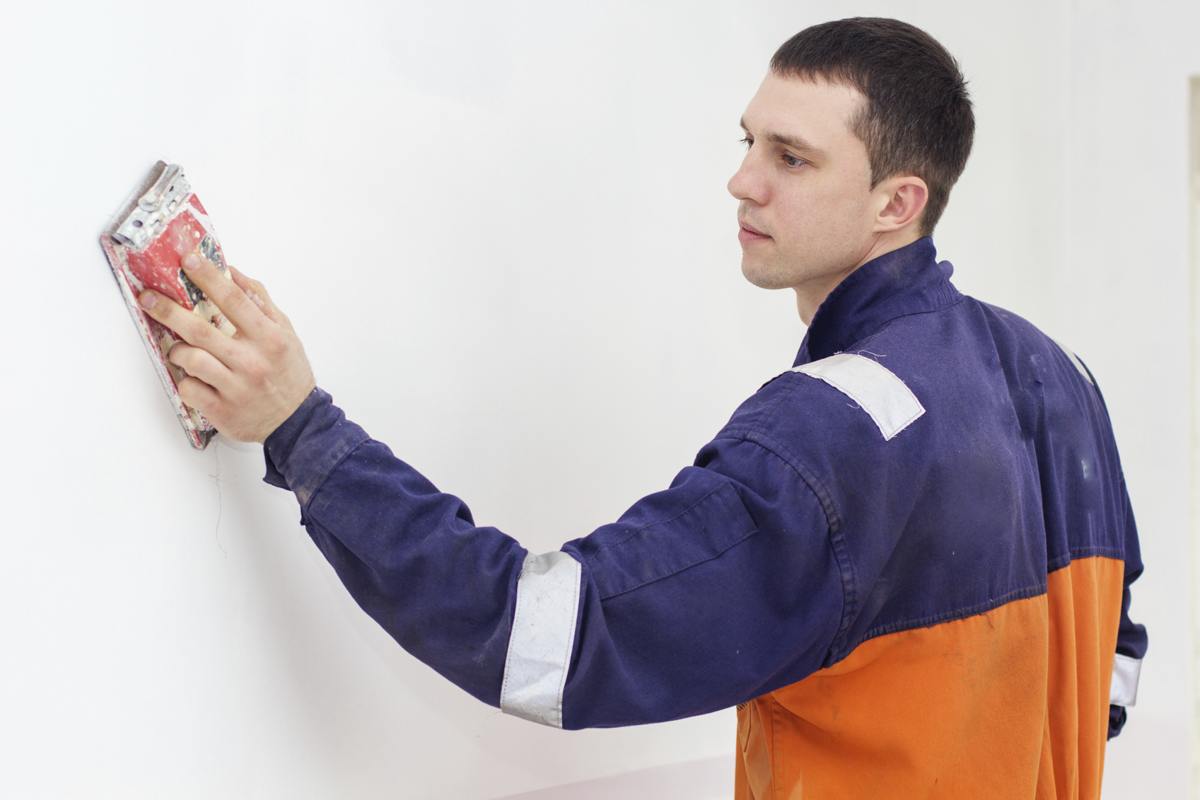
The last step is to sand the wall surface with sandpapers. If the surface is still pitted or rough, apply another coat of joint compound. Keep repeating this process until the wall is completely smooth and is in a ready-to-paint condition. The above mentioned procedure can also be used for repairing the drywall ceiling.
Repairing the drywall after wallpaper removal is very necessary. If left un-repaired, the problem may resurface after painting or pasting the new wallpaper. Hence, make sure that you repair and give a clean look to the walls. This procedure will surely complete the fixing process, including repairing the corners. Repair the drywall and paste new wallpapers to give your house a completely new look.