There are two main ways to carry out a shower pan repair. Both the methods involve a few simple steps and require some basic hand tools. A waterproof sealant solves most of the leakage problems. The following article shows you how.
It is really annoying and irritating to have a leaky shower pan. The leakage can occur in several ways. At times, the problem is irreparable. The only way left is to install a new one. However, replacement is quite expensive. Thankfully, most of the time, the problem can be rectified using some effective ways. Even if they cannot be repaired permanently, at least they would delay your plan to replace them.
Methods of Repairing
Epoxy injection
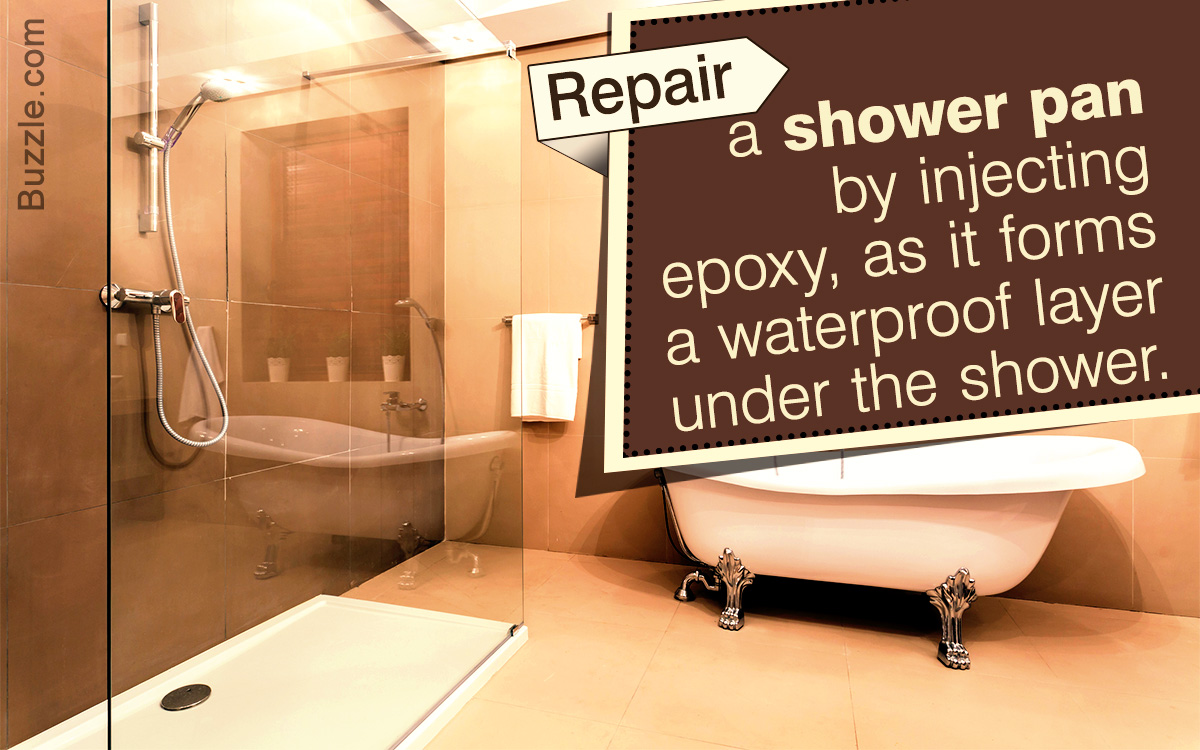
To inject epoxy through the floor is a very effective solution. Epoxy is a thermosetting resin and forms a waterproof layer under the shower. It is used as a strong adhesive. Here, you need to be careful, as there is every possibility that epoxy runs toward the water flow. This would block the drain and the pan would not drain properly. Therefore, injection of epoxy, at times, can itself become a problem.
Grout repair
As per the basic design, water reaches the drain after flowing through the floor grout and then the liner beneath. The grout, if not made of epoxy, is not waterproof. After a period of time, it gets deteriorated by water that regularly seeps through it. As a result, it can break and develop cracks. In order to not let it happen, you need to seal the grout to protect it from water.
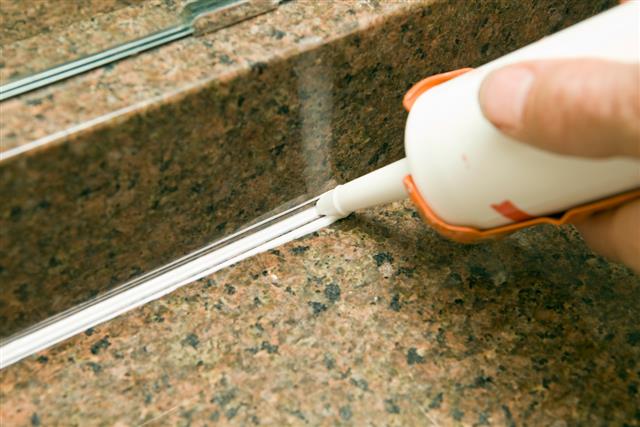
If the grout has cracked, seal the crack with a good-quality sealant. If the sub-floor underneath has also deteriorated, then replacement is a better option. There are situations when the grout fails only at the corners. The water flows on the outside the liner. Check whether the shower pan is still in working condition. If it is, then you can fix the leak. Allow it to dry completely. Seal the crack with a waterproof sealant to make it watertight. Silicone caulks are best for this purpose.
If the grout has failed completely, then the ideal option is to go for regrout. Remove the deteriorated one with a saw. Fit in a new one. You would need a rubber trowel for fixing. Check for its soundness through all the corners and the floor. Seal it with silicone when the pan is dry. This accomplishes your repair task.
All of its significant parts of the shower pan are under the floor. However, if you understand the basic construction technique, you can avoid many problems.
Tips to Avoid Leakage
Make sure at least one of the several layers underneath the floor is watertight. You can use vinyl to form such a membrane. There are two drain levels. Make both of them waterproof by gluing vinyl to them. The entire sealing can be done by installing the sealant on the walls and the threshold. If you are tired of watching out for mortar layers and vinyl membranes, then go for a ready-to-use kit. Users find it easy to install.
A repair kit works in the following manner:
- Clean the area to be fixed thoroughly.
- Spread a layer of gel coat patch onto the crack from one end to the other, covering the patch.
- Continue to apply the gel coat at the pit so that the application appears uniform.
- Two strokes of the applicator should be appropriate to seal the crack.
- Allow the gel coat to cure.
- Let the compound harden, and lightly sand down the surface to correct any visible imperfections.
This method is simple and may be applied by an amateur as well. You can conduct shower pan repair effectively and easily, if you know well which part is damaged and needs repair. As mentioned earlier, a sound knowledge of the construction would prove to be of great help.
