Staining pressure treated wood helps in preserving its color, appearance, and texture. In order to stain pressure treated lumber, you can use an oil-based, semi-transparent, or solid color finish. The steps for this process have been enlisted here.
Wood is no doubt one of the most versatile materials for construction purposes. Nevertheless, wood obtained from almost all varieties of trees are susceptible to termites, insects, bacteria, fungi, and other microbes. When wood comes in contact with atmospheric moisture or the ground for a certain period, it gets easily attacked by microbes and pests, thus reducing its durability. This is where the question of pressure treatment comes to the picture. Pressure treated lumber refers to wood that has been exposed to chemical preservatives under increasing pressure, so as to make it insect resistant.
Procedure
Irrespective of whether it is an old post or newly purchased pressure treated wood, proper staining is a good approach to restore its color, appearance, and strength. Painting treated lumber should be avoided as the paint holding capacity of such wood is very low. It is to be noted that the chemical preservatives used in the making of pressure treated wood may be harmful to humans and animals. Hence, it is advisable to use protective gear while staining the wood.
Step 1: Cleaning
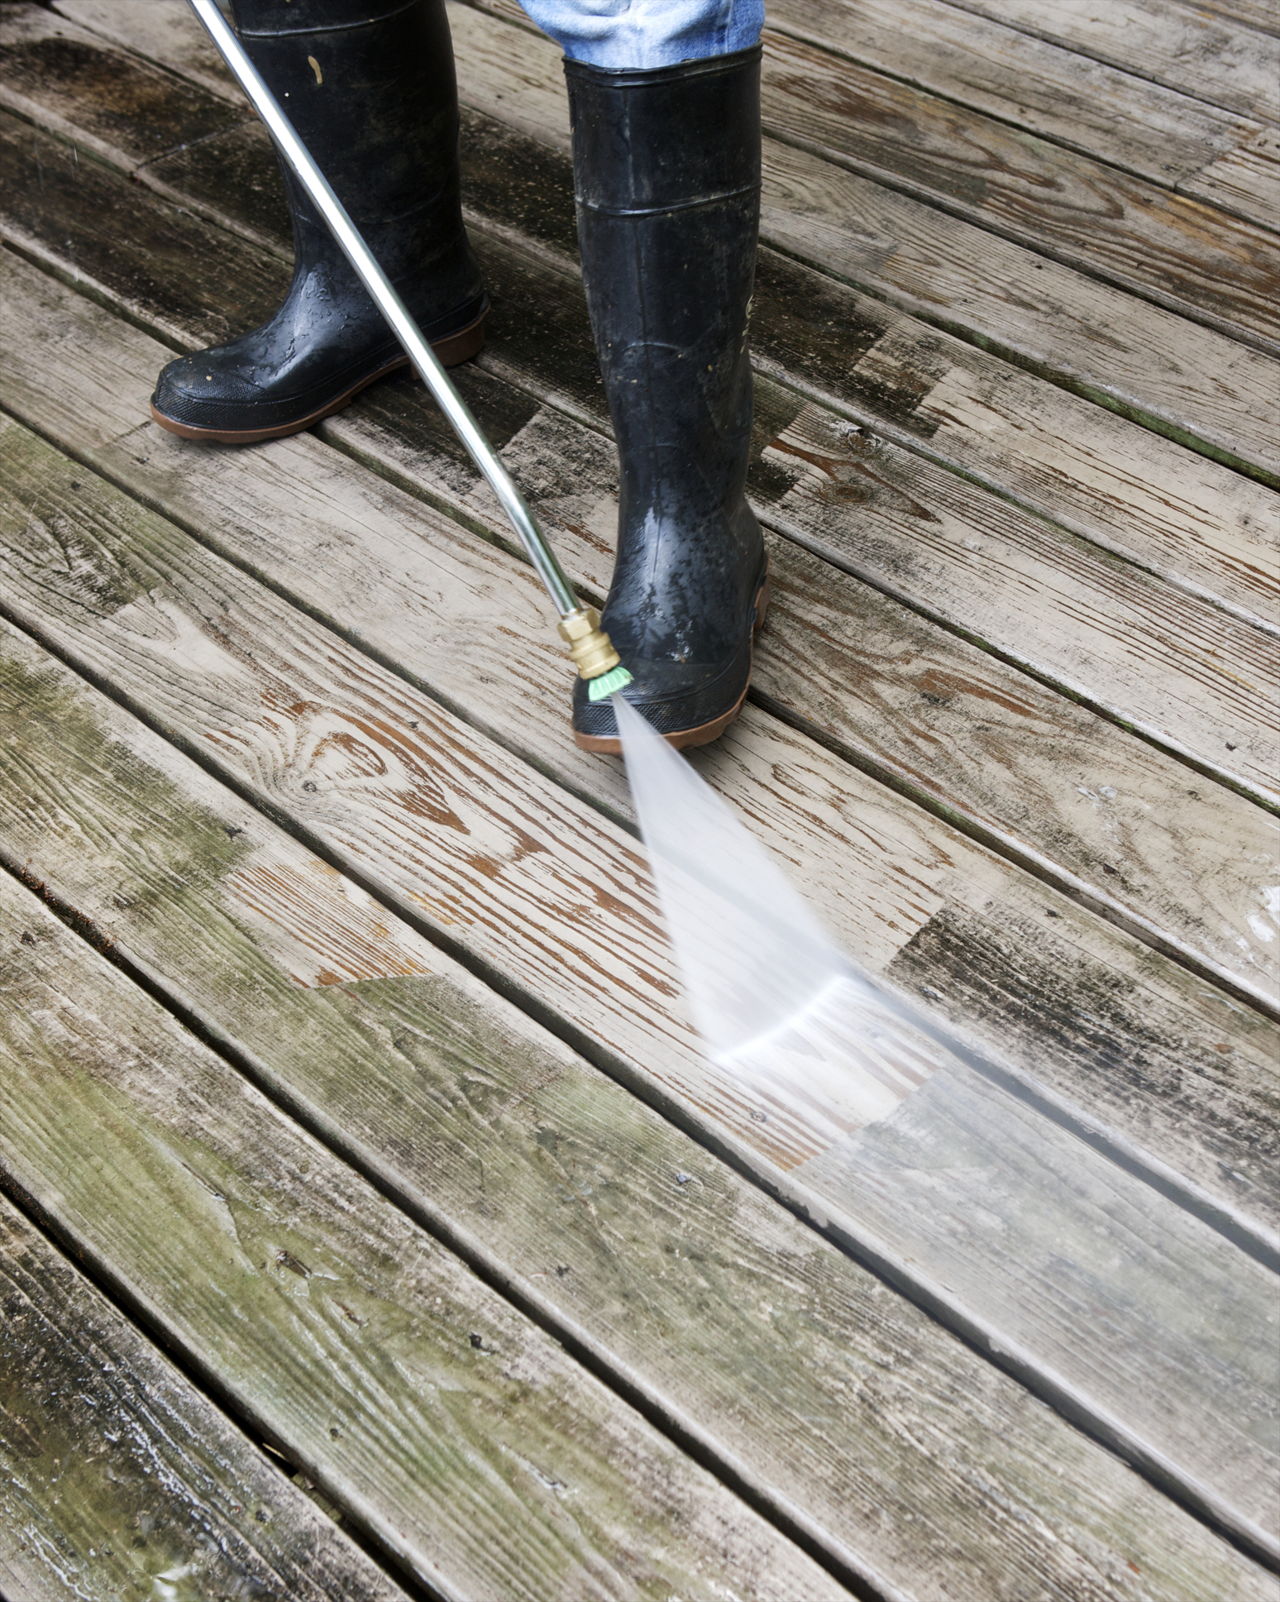
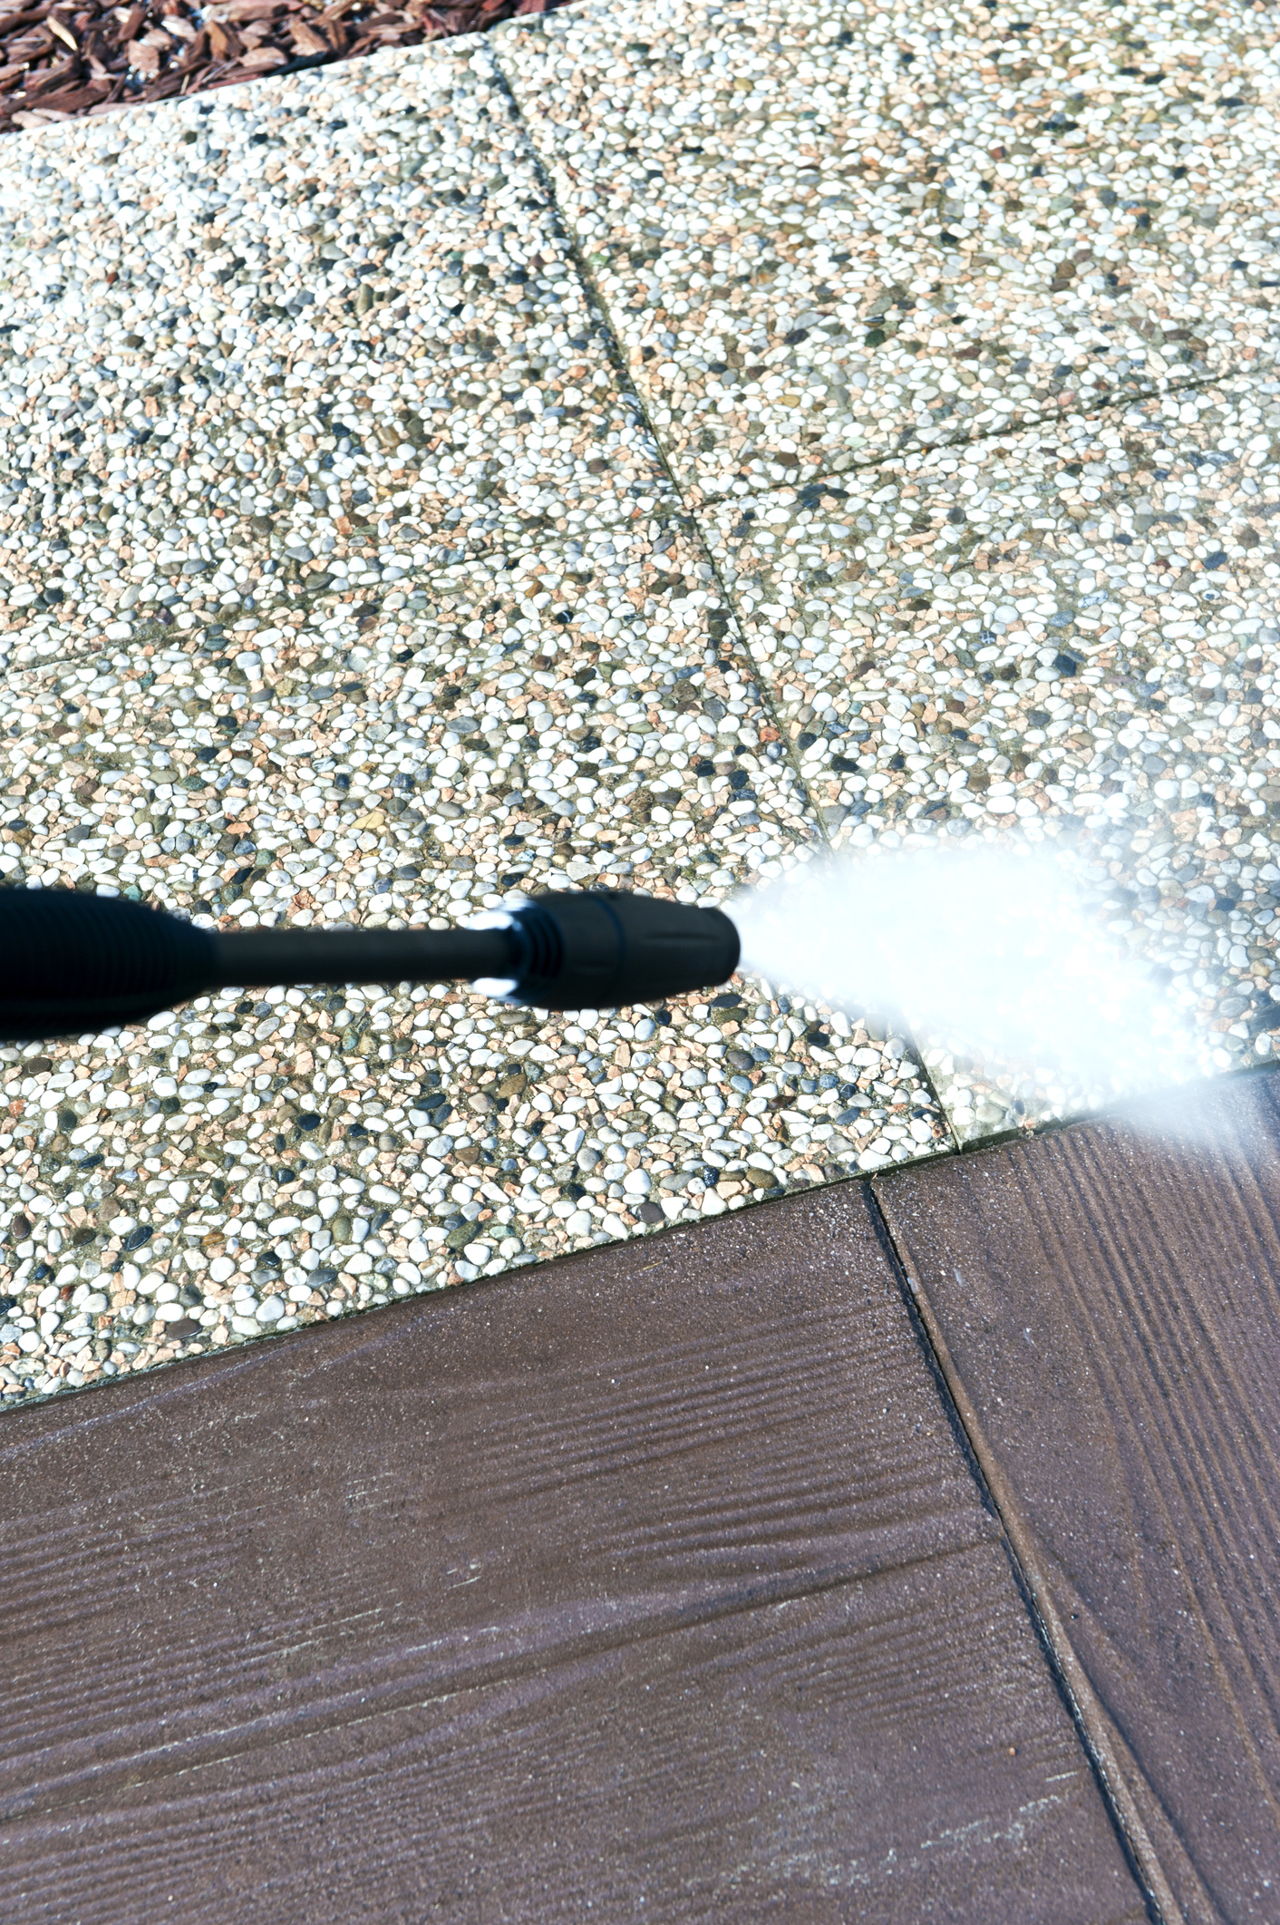
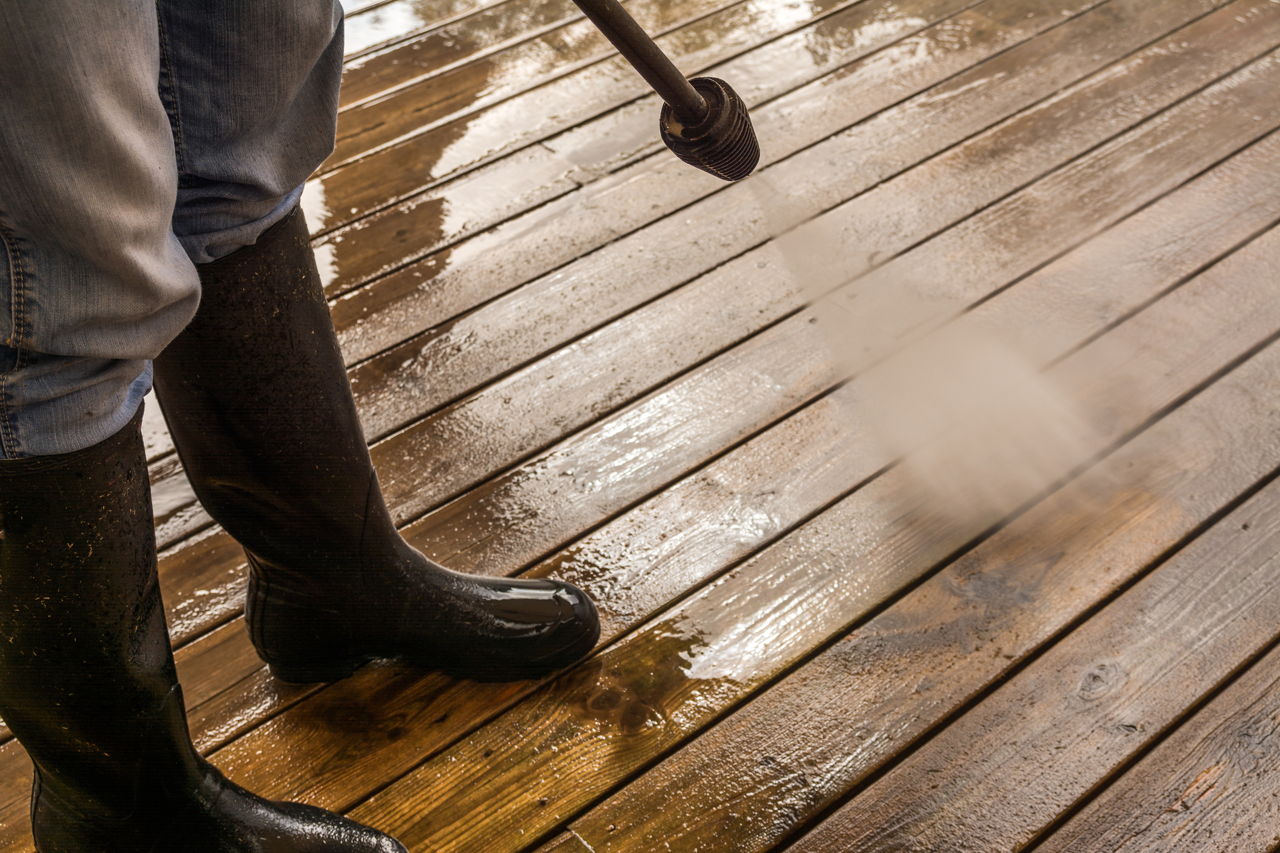
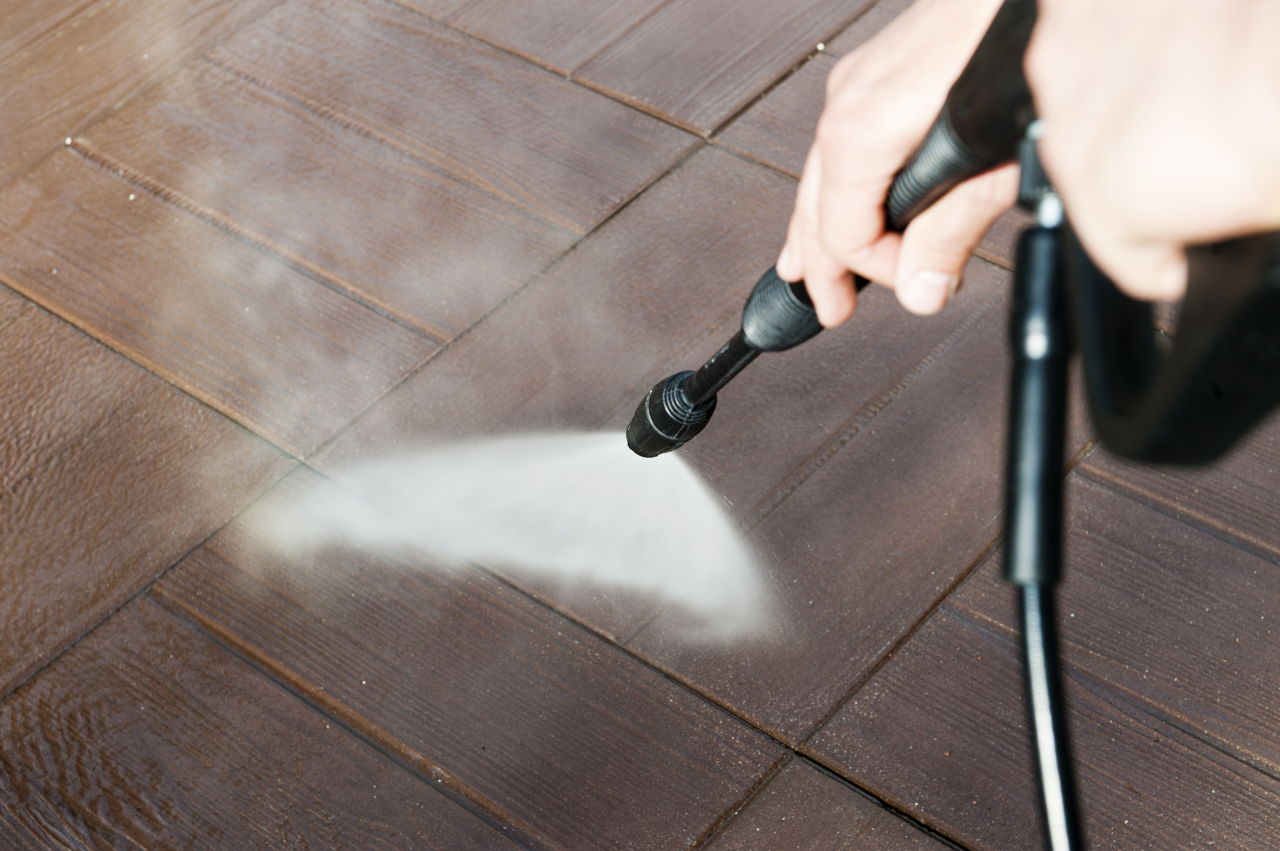
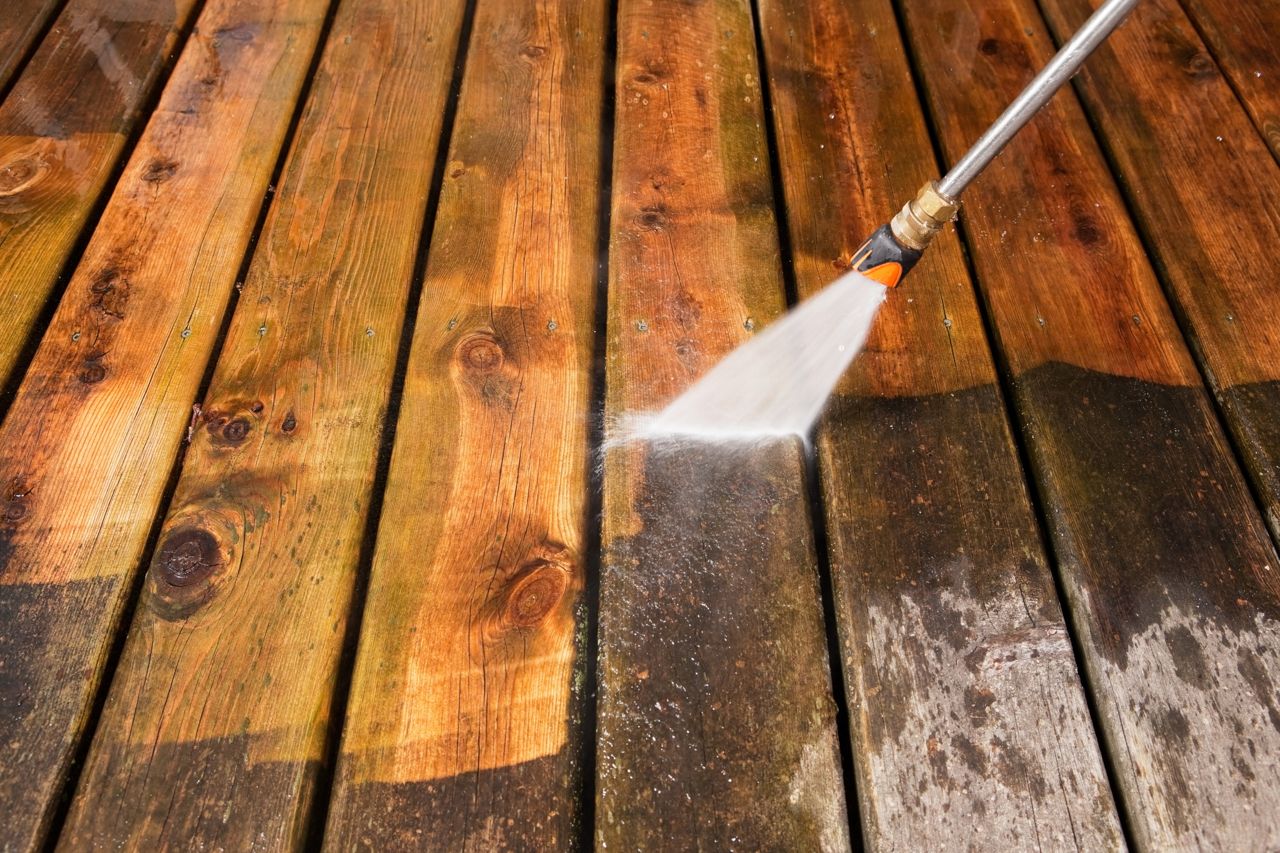
Prior to application of the stain, clean the surface of the wood by using an appropriate cleaning solution. In case you are staining old wood, pressure washing (within the range 1200-1500 PSI) is a preliminary step. You may have to rent a pressure washer for this purpose.To deal with mold or mildew problems, apply diluted bleach solution to deal with it. If the wood is very old, it is going to require a certain amount of scrubbing before it is clean enough to be stained. While doing so, make sure you use mouth covers to avoid inhalation of the fumes. Allow the lumber to dry completely before staining. If it is still wet, it is likely to develop blisters and cracks.
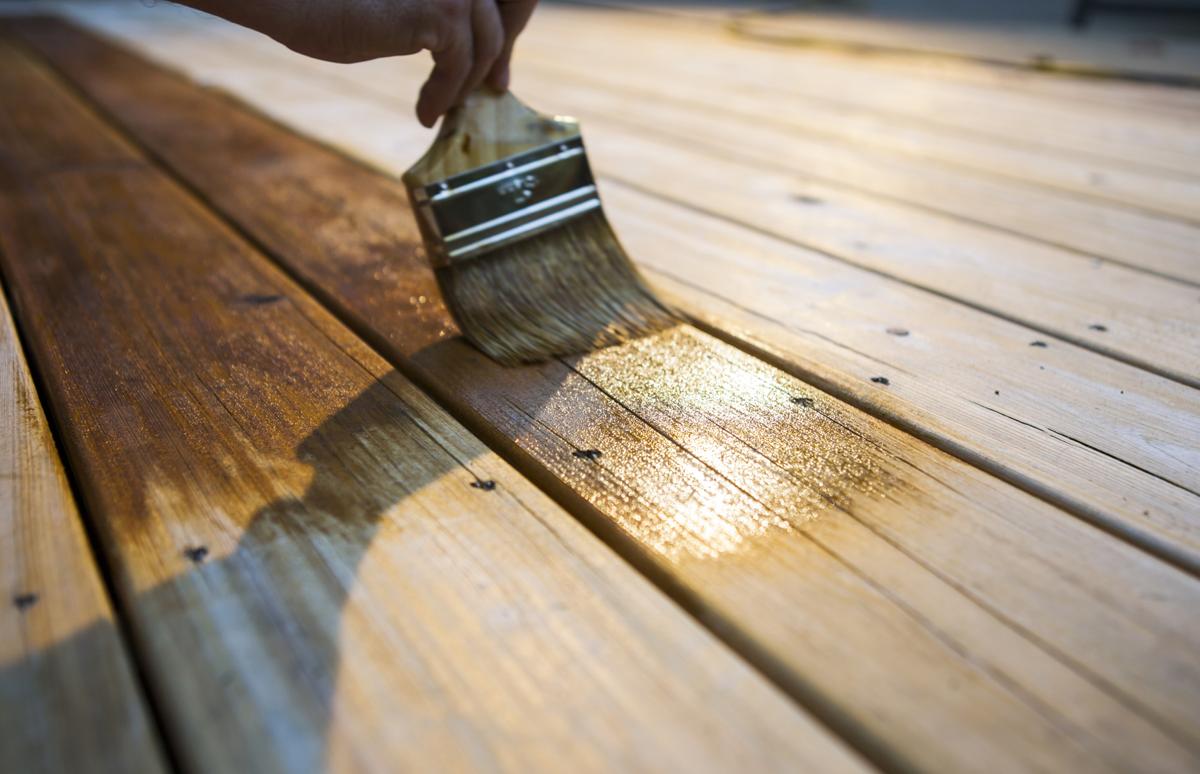
Step 2: Staining
Decide the suitable stain product and color for the lumber. Avoid using water-based products to stain treated wood, if it is meant for use in sunny areas. Opt for light color stains or semi-transparent stains with ultraviolet light protection to impart a natural shade. If the old wood has cracks, a solid color stain is the best choice. The process may be completed by following the manufacturer’s guidelines on the stain can. This process may be different based on the manufacturer of the stain.
Some stains can be applied even on wet surfaces. Ensure that you choose the appropriate product for this purpose by confirming with the manufacturer. In such cases, you can directly proceed with the staining steps (without drying) by following the guidelines provided by the product manufacturer. Using a regular paint brush, roller, or paint pad, start applying the stain evenly. If available, make use of a sprayer for uniform stain application. However, this approach may require a higher amount of stain than the regular brush staining method.
For solid color stain, a single thick layer is sufficient for preservation of the pressure treated wood. In the following year, you can apply one more coat to increase durability. For clear coating stains, it is better to put two coats. Also, clear finish requires frequent application, at least once in six months. Lastly, don’t forget to seal the open grains to prevent water penetration. Overall, staining pressure treated lumber once in a year will surely increase its aesthetic value and durability.