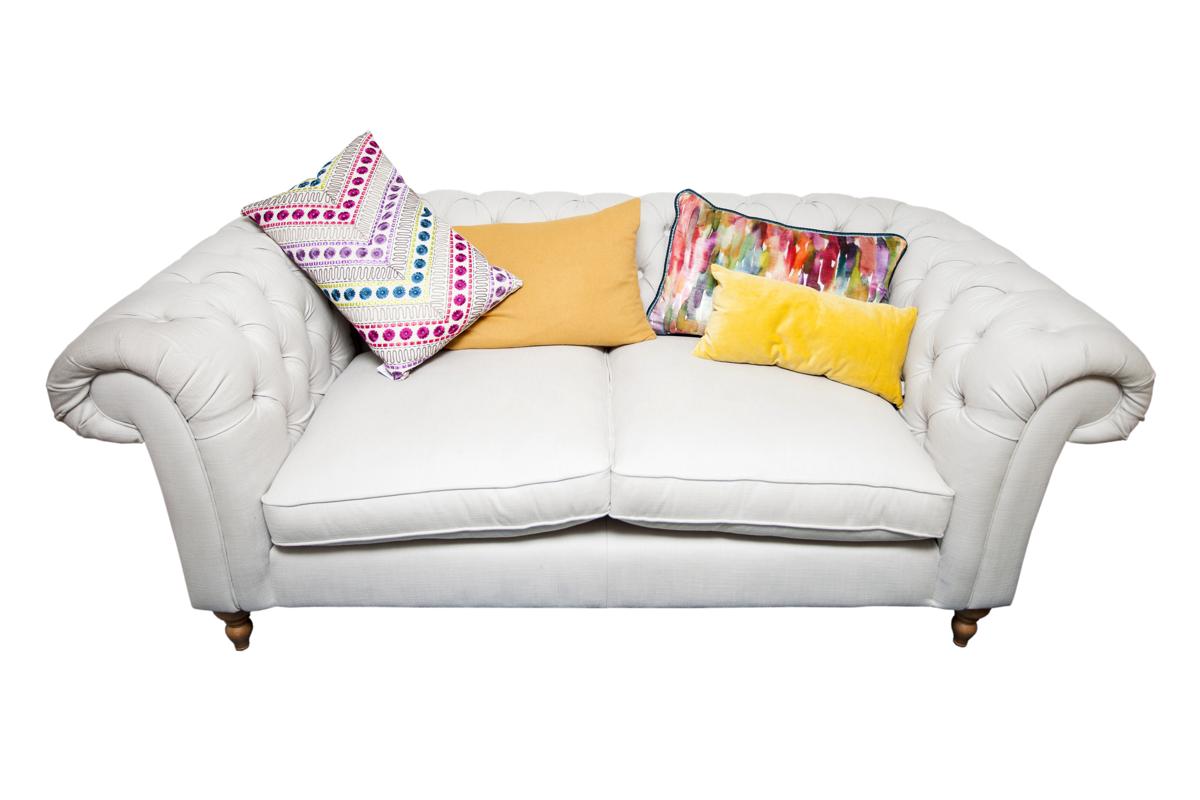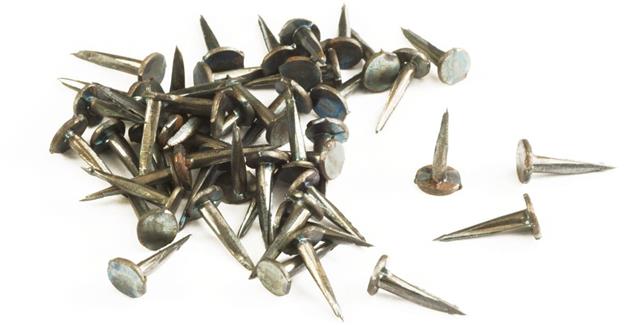
Upholstery tacks are an extremely crucial tool as they hold the upholstery material together. If you’re wondering how to install them, the instructions mentioned below shall help you.
The word upholstery has evolved from Middle English words ‘up’ and ‘holden’, which means to hold up. Upholstering is a job that provides padding, springs, webbing, fabric, and leather, to furniture pieces, especially their seats. Along with home furniture, upholstery is also used for furniture/seats installed in boats, aircraft, and automobiles.
The upholstery’s frame, spring system, cushioning, and fabric is kept in place with help of small nails called upholstery tacks. These tacks are secured to the upholstery fabric with the help of a tack hammer called upholstery hammer. Sometimes, an upholstery tack gun is used instead of the hammer. There are different types of tacks, such as thumbtacks and push pins.
Buying Upholstery Tacks
Tacks are often available on bulk discounts; hence, it is always better to purchase them in bulk. You can also find good deals for tacks online. Along with tacks, you can also purchase an upholstery tack strip. This strip is used as a finishing object in reupholstering projects. In other words, if you don’t want the tacks to show, then you can easily cover them with the help of these strips. You can get metal as well cardboard strips.
Installing Upholstery Tacks
There are a few standard reupholstering tools that you will need in order to install these tacks. Here are instructions on how to install tacks in furniture made of wood and leather.
Material
- Brass upholstery tacks
- Trim
- Rubber mallet
- Glue
- Upholstery staples
- Upholstery staple gun
- Measuring tape
- Scissors
Procedure
- Stretch the covering fabric over the wooden base of the furniture and then place the upholstery tack on the point from where it can be attached with the wooden frame of the furniture that you want to upholster.
- Once you are done with it, seal the tack with a mallet or staple gun. Fix the tacks with a few firm taps of mallet. If you are using designer tacks, then make sure that tapping is not damaging their appearance.
- Measure the length of the seams in the furniture. Measure the same length of trim. You can add a couple of inches more in the length of the trim, in case of any wastage.
- Lastly, glue the trim to the wooden surface of the frame and then staple them securely in a desired place. If you are using silver or any other decorative upholstery tacks, then do not glue the trim on them; it will affect their appearance.
Removing Upholstery Tacks
Now that you know how to install the tacks, it is time to learn how to remove them. Removing upholstery tack nails is an important step, especially when it comes to reupholstering chairs and other such furniture articles. The tools that you will need to this project are a claw hammer and a flat head screwdriver. You can also make use of an upholstery tack remover for the job.
- For removing the tacks, you need to start from the already loose tacks. If not, then always start at the back of that furniture. Insert the screwdriver underneath the upholstery and tap it lightly with help of the hammer.
- Pull the handle of the screwdriver up, by pressing its head against the furniture. While doing so, make sure that you are not damaging the wooden frame of the furniture.
- Then squirm the screwdriver back and forth to help loosen up the tacks from the frame. Then, by repeating the same procedure, remove the tacks from the frame one by one.
- You can also try to remove the remaining tacks by hand. To do that, you need to pull the fabric away from the wooden frame and loosen up the tacks with your hand. Use a claw hammer for hard-to-remove tacks.
You can now install these tacks on your own!
