If you have a piece of old furniture like a wingback chair that has seen better days, don’t throw it out yet. By reupholstering it with some fine modern fabric, you can transform it. This article will guide you on how to reupholster a wingback chair.
Old furniture pieces are definitely hard to fit in with modern interior décor. But with some creative sprucing up, you can restore it to its former glory and make it an accent piece in your bedroom or living room. If you have inherited an old wingback chair and you think that its shabby look does not match your home décor, there is no need to say goodbye yet.
Wingback chairs might seem like a throwback to the old Victorian era, but are you aware that the Victorian décor has made a comeback. Even if your interior is all about contemporary and modern style of decoration, an accent piece like a wingback chair can give it a whimsical and eclectic look. The best way to transform a shabby wingback chair into a stylish one is to reupholster it. While it is a little time-consuming to do it yourself, think how many pennies you can save by doing it yourself.
Reupholstering a Wingback Chair
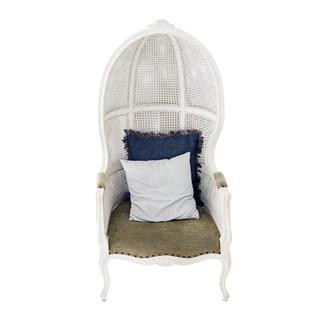
A wingback chair is essentially a chair with a high back with armrest and wings at the sides that protect the person sitting on it from drafts or sunlight. These type of chairs are usually large and imposing and dominate a room. They are generally upholstered in beautiful embroidered fabric in velvet or damask. If the upholstery of your wingback chair is torn or almost thread-bare, then here is the step by step instruction on how to reupholster a wingback chair.
Things required
- Upholstery fabric
- Flat screwdriver
- Needle nose pliers
- Piping cord
- Hot glue gun
- Electric staple gun
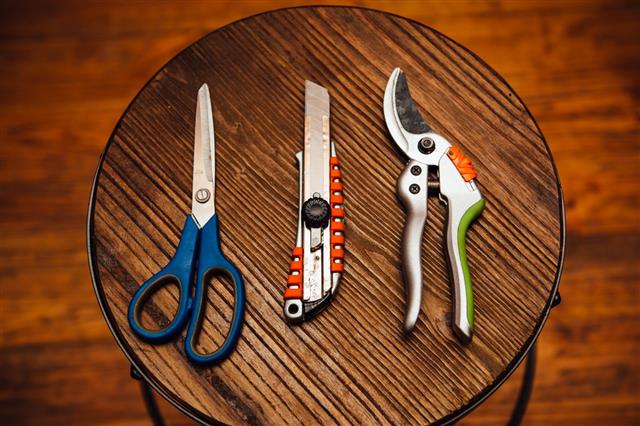
- Pair of scissors
Procedure
Remove the Existing Fabric
The first step in reupholstering any furniture be at an ottoman or a chaise lounge is to remove the existing fabric upholstery. So, in this case, you need to remove the upholstery from the wingback chair. To do this, you need to take out all the staples that bind the fabric to the frame of the chair with the needle nose pliers. Be patient while removing each section of fabric from the chair as you will require the pattern for cutting the new upholstery material.
Cut New Upholstery Pattern
When you have removed each fabric piece from each section of the wingback chair (arm rest, back, seat and wings), label each piece so that you know which piece goes where. Labeling the pieces this way will help you later in doing the reupholstering work. Place each pattern over the new upholstery material and cut around the outline of the pattern, keeping about 2-2 ½ inches in seam allowance.
Repair the Padding of the Chair
Take a look at the wingback chair and evaluate if the chair itself requires any repair. The frame of the chair should be sturdy, the legs should not be wobbly and most importantly there should not be any tears or bare spots on the padding of the chair. If there is any repair work required to be done on the frame or padding of the chair, then it is best that you do it at this point.
Reupholster the Back of the Wingback Chair
Take the new upholstery pattern that you have cut out for the back of the chair and drape it over the chair’s back. Hold the fabric taut with your hand and insert the fabric to the sides of the chair. Keeping an even pressure on the fabric, staple the fabric to the back of the chair with the electric staple gun. Make sure that the fabric piece is taut while stapling, otherwise you will see puckering of the fabric material which is definitely not pretty. With a pair of sharp scissors, trim off the excess fabric hanging from the back of the chair. Staple the bottom of this fabric piece to the underside of the chair and also staple the fabric at the sides to the side wooden frame.
Reupholster the Seat of the Wingback Chair
Once you are done reupholstering the back of the chair, it is time to reupholster the seat of the chair. Place the new upholstery pattern for the chair seat on the seat of the chair, making sure that you hold it taut. Staple one side of the fabric to the frame of the chair with the nail gun. Pull the fabric taut, make a few pleats to adjust the fabric and staple the fabric to the sides of the wingback chair frame. Make sure that there is no puckering of the fabric while you staple it to the chair frame. The finished look should be polished with no excess fabric trailing from the chair frame.
Reupholster the Wings and the Arms
Drape the upholstery fabric over one arm of the chair, tuck fabric over the frame and staple. Repeat the same process on the other arm. Trim of excess fabric if any. Since the wings of wingback chair are curved, you need to first tuck the fabric on the inside edge of the chair and then pin the fabric on the outside edge. Pleat the fabric in such a way that it drapes well over the wings, and then staple it. Trim off excess fabrics. Hot glue piping cord over the edges or seams of the wingback chair to give it a finished and polished look.
This is how you reupholster a wingback chair. It is no doubt a time-consuming project but with some patience you can transform your old wingback chair into a statement furniture piece.
