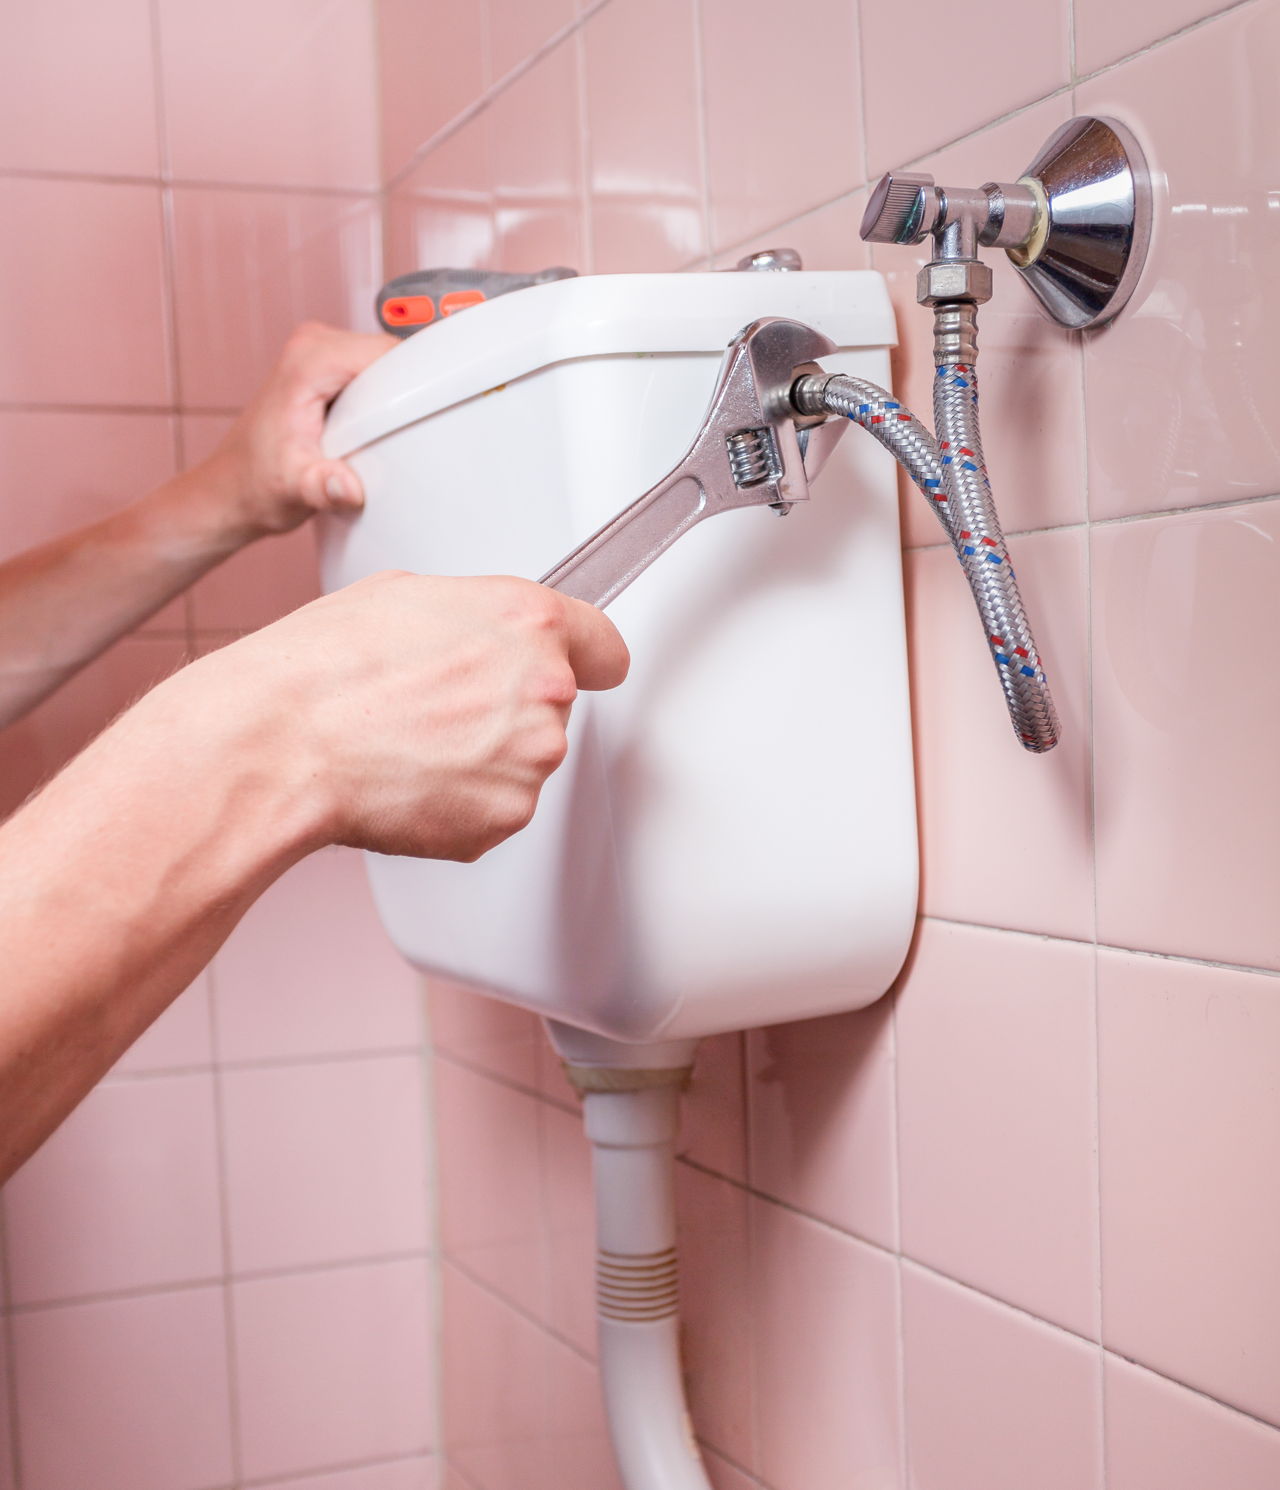
If you’ve noticed a leak at the bottom of the toilet, replacing a toilet flange becomes an unavoidable task. Read the HomeQuicks article to see how you can do this task by yourself.
Also known as the closet flange, a toilet flange is a pipe fitting used in plumbing purposes. Mainly, the flange has 2 things to take care of―to keep the toilet tightly secured to the floor and it works as a pipe fitting which connects the toilet’s and floor’s drain together. There are two types of hubs―PVC hub and ABS. The flange is a steel mounting on top. Apart from steel, the flange also come in copper, stainless steel, plastic, and brass form.
During the entire installation process, the toilet is tightly bolted and fastened to the flange. With the help of screws, it is then secured in place. And to keep the toilet from leaking at the base, a layer of beeswax seal is also applied. For proper functioning of a toilet, if for any reasons, this seal is damaged and water does seep through the small space, replacing it is our only option.
Instructions for the Replacement
You’ll need―4″ PVC pine and PVC glue, measuring tape, screwdriver, hacksaw, hand gloves, safety goggles, putty knife, replacement flange, coupling, wax ring, permanent marker, cleaning rags, a bucket (optional), and reinforced cutting discs. Once you have these items gathered, go over the steps mentioned below.
Step #1
Open the door and windows, wear your hand gloves, and don’t forget to put on your safety goggles before beginning. To replace the flange, we need to first remove it. To do so, the water supply to the bathroom needs to be turned off. Now, where the water comes in to the toilet, you need to make sure that hose is loose. Flush the water out of the toilet.
Step #2
On either sides of the toilet, there are 2 nuts that are keeping the toilet to the floor. Loosen them and keep on one side. Now you can easily lift the toilet from its place. You can keep the toilet in a big bucket or the bathtub where the rest of the water from it can drain out.
Step #3
Where the toilet first was, you will see the beeswax seal. Clean it properly with rags and with the screwdriver, remove the screws from the flange. These screws have kept the flange securely bonded to the floor. Once you do that, you can get in the space to measure the fitting pipe which will then come out of the floor. You will require a new PVC pipe along with a toilet flange, wax ring, and PVC glue.
Step #4
You will see a red line near the flange. You need to take the reinforced cutting disc and cut the flange near this red line. After you finish that, we are ready for the replacement. But first, you need to take the coupling and fix it directly on the PVC pipe which was cut from the floor. In the coupling, you will keep the new PVC pipe that you purchased; make sure it’s perfectly in place.
Step #5
Use the measuring tape and permanent marker to make a mark on the new PVC pipe. Here, we need to check what the correct height of the new pipe will be, once it goes back in the floor below (from where we removed the old pipe from). You need to remove the coupling and the new pipe from where we cut the older pipe inside the floor. Next, cut the new PVC pipe with the hacksaw where you make the mark. Make sure you double check the measurement before cutting.
Step #6
In the end, all you have to do is use the PVC glue to secure the pieces back one by one. Let each piece dry for a few minutes before you glue the other pieces back in. Once this is done, now we begin replacing it in actuality.
Step #7
Here the new flange you purchased will go on the floor. The screws we took out in the beginning will go back in place. Also, insert the new flange bolts to secure it properly. On top of that, the wax ring will be pushed in place (which is in fact staying at the base of the toilet).
Step #8
Bring the toilet back in its place and line it with the bolts. Place the toilet very slowly on top of the flange and press it down. Secure the nuts back in place so the toilet won’t move from its location; tighten it. Also, tighten the water hose and turn on the water supply. Flush 2―3 times to make sure there’s no leakage.
If you’ve never attempted any plumbing projects before, don’t try to do this alone. Ask for a friend’s help or better yet, have a professional take a look at it.